MINIACRC MIGHTY MINI P51B/C MUSTANG BUILD
About six years ago, the build video of the original FliteTest Mighty Mini P-51D Mustang was released on Youtube as part of a challenge between Josh Bixler and Peter Sripol: how fast can you go with one sheet of foamboard? Among other influences from the hobby community, this challenge inspired the inception of a long series of smaller DIY (do-it-yourself) swappable warbirds that have since dominated several flying fields across this nation.
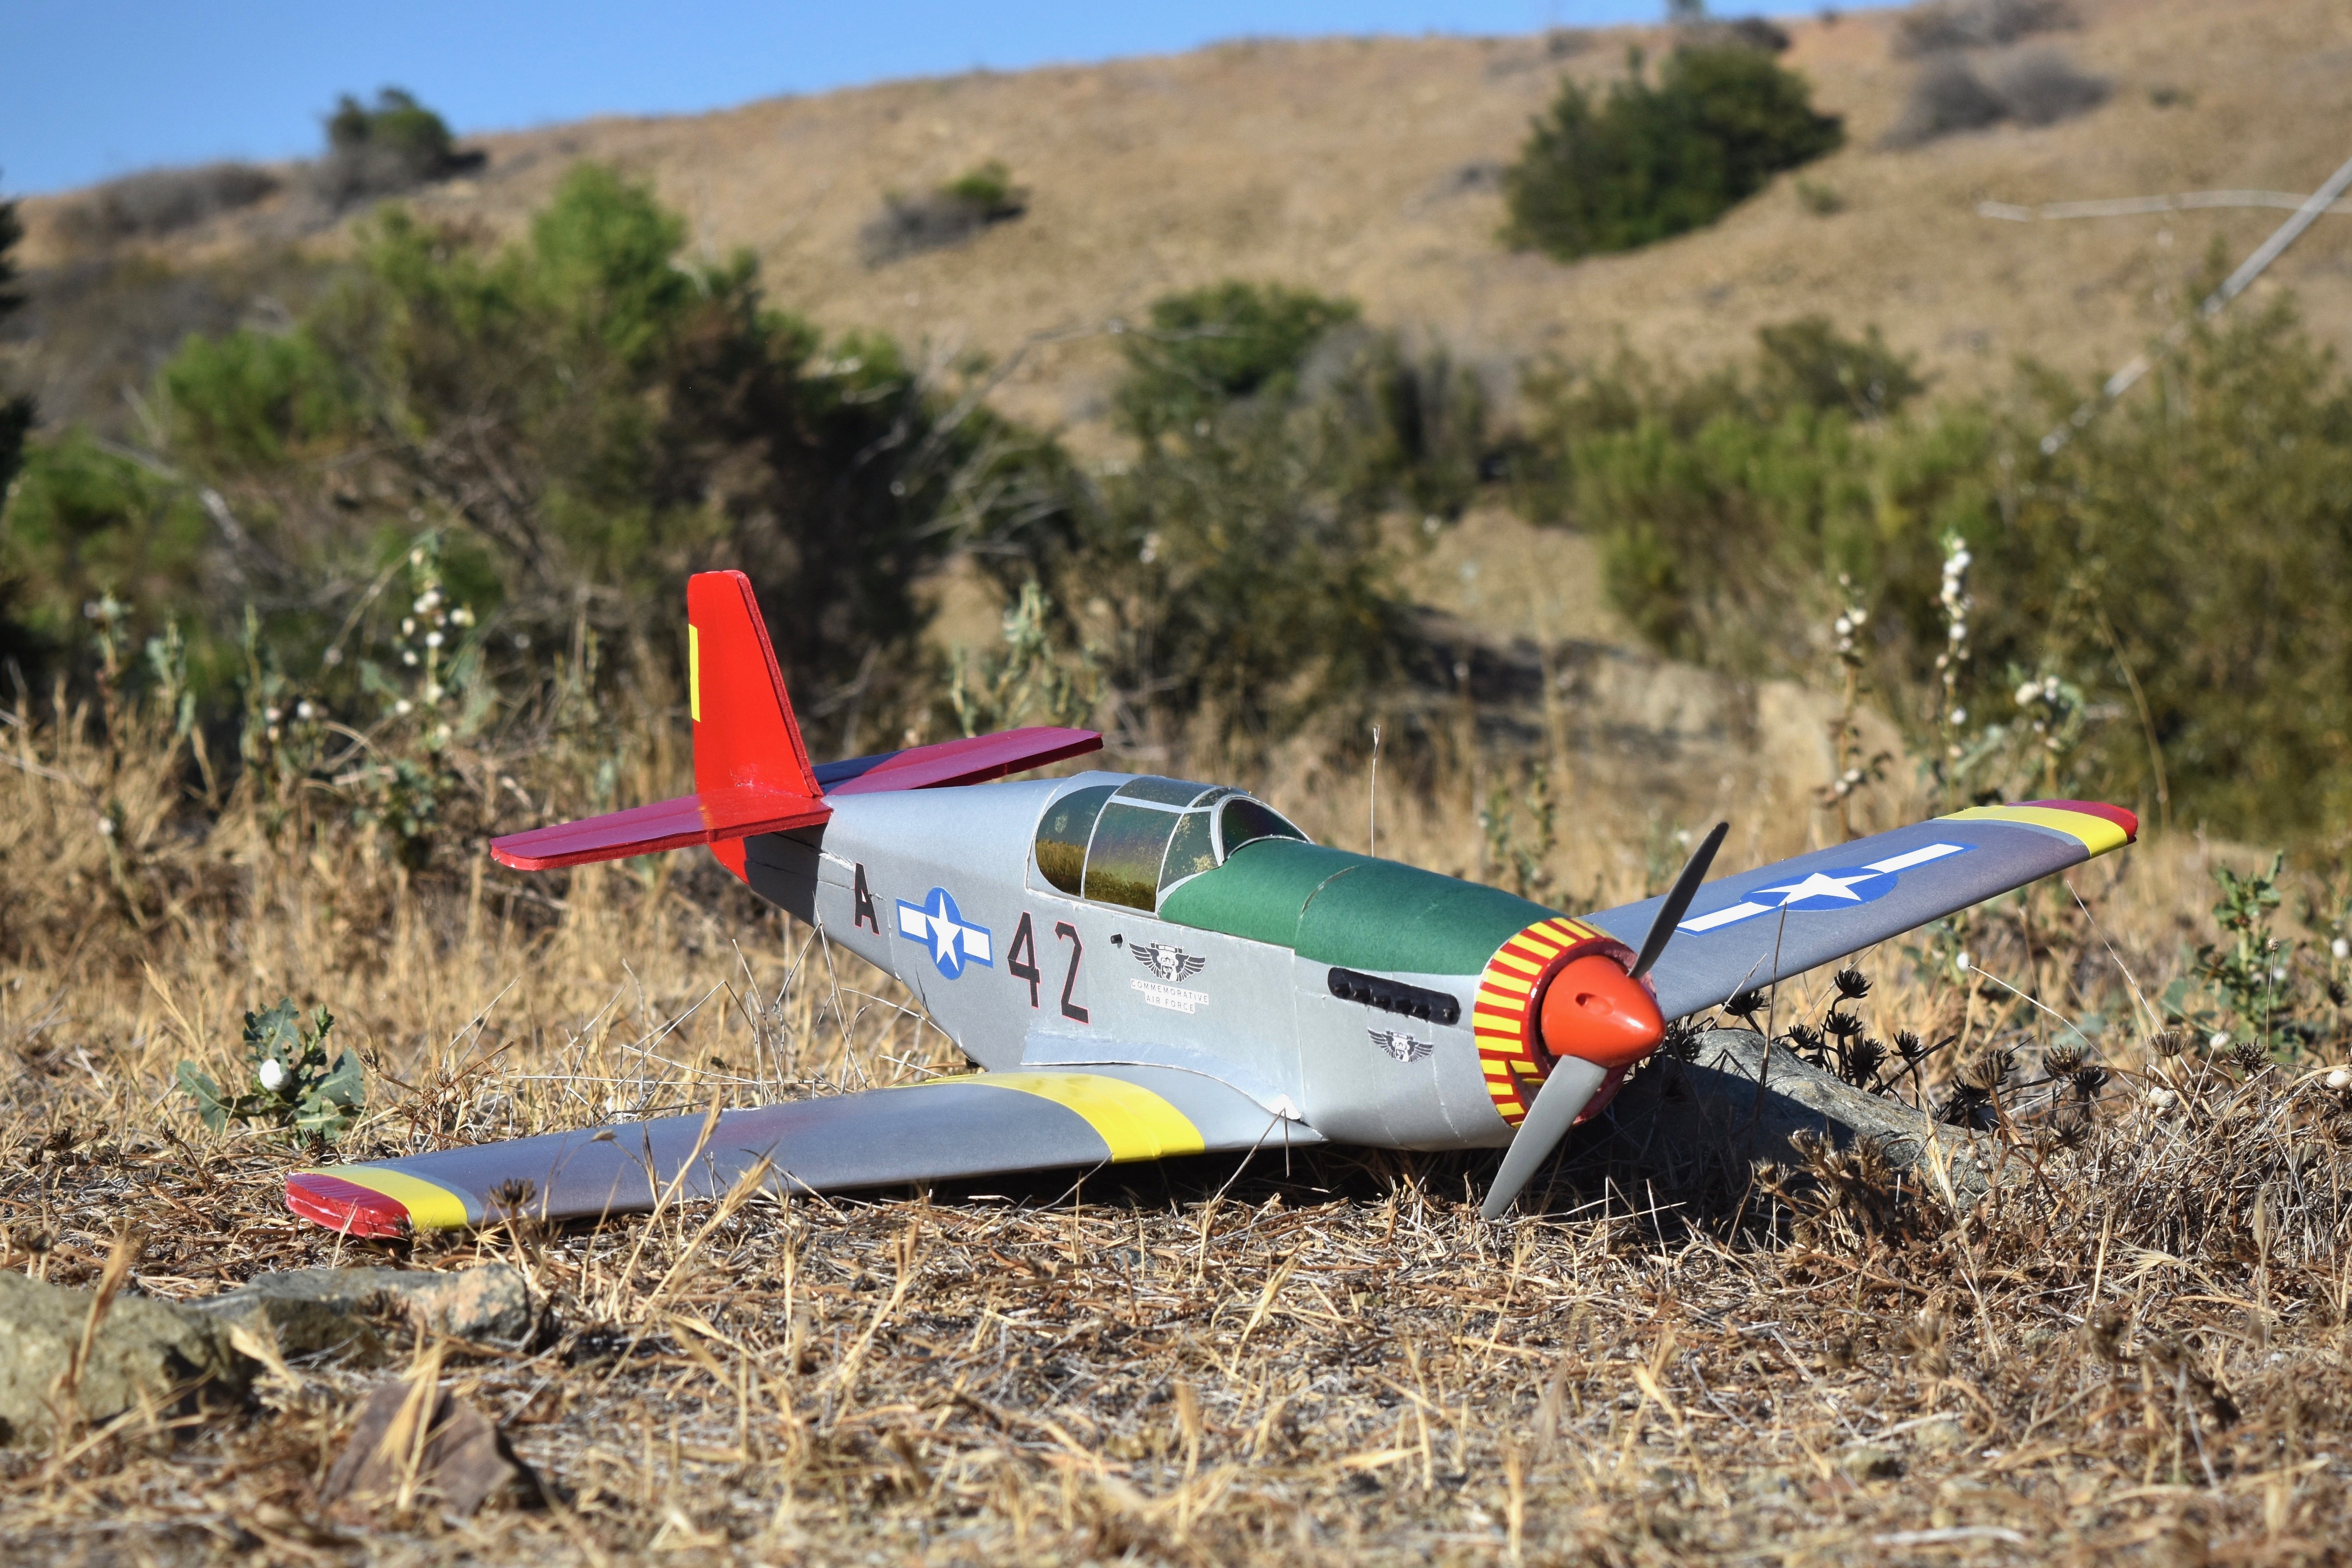
Personally speaking, that build video was the principal inspiration for me to step with both feet into this unique hobby. After several years of working with the FT community and making wonderful friends at my local flying fields, I'm happy to present a small token of gratitude: a DIY 29"-span Mighty Mini P-51B Razorback Mustang, with publicly available free plans!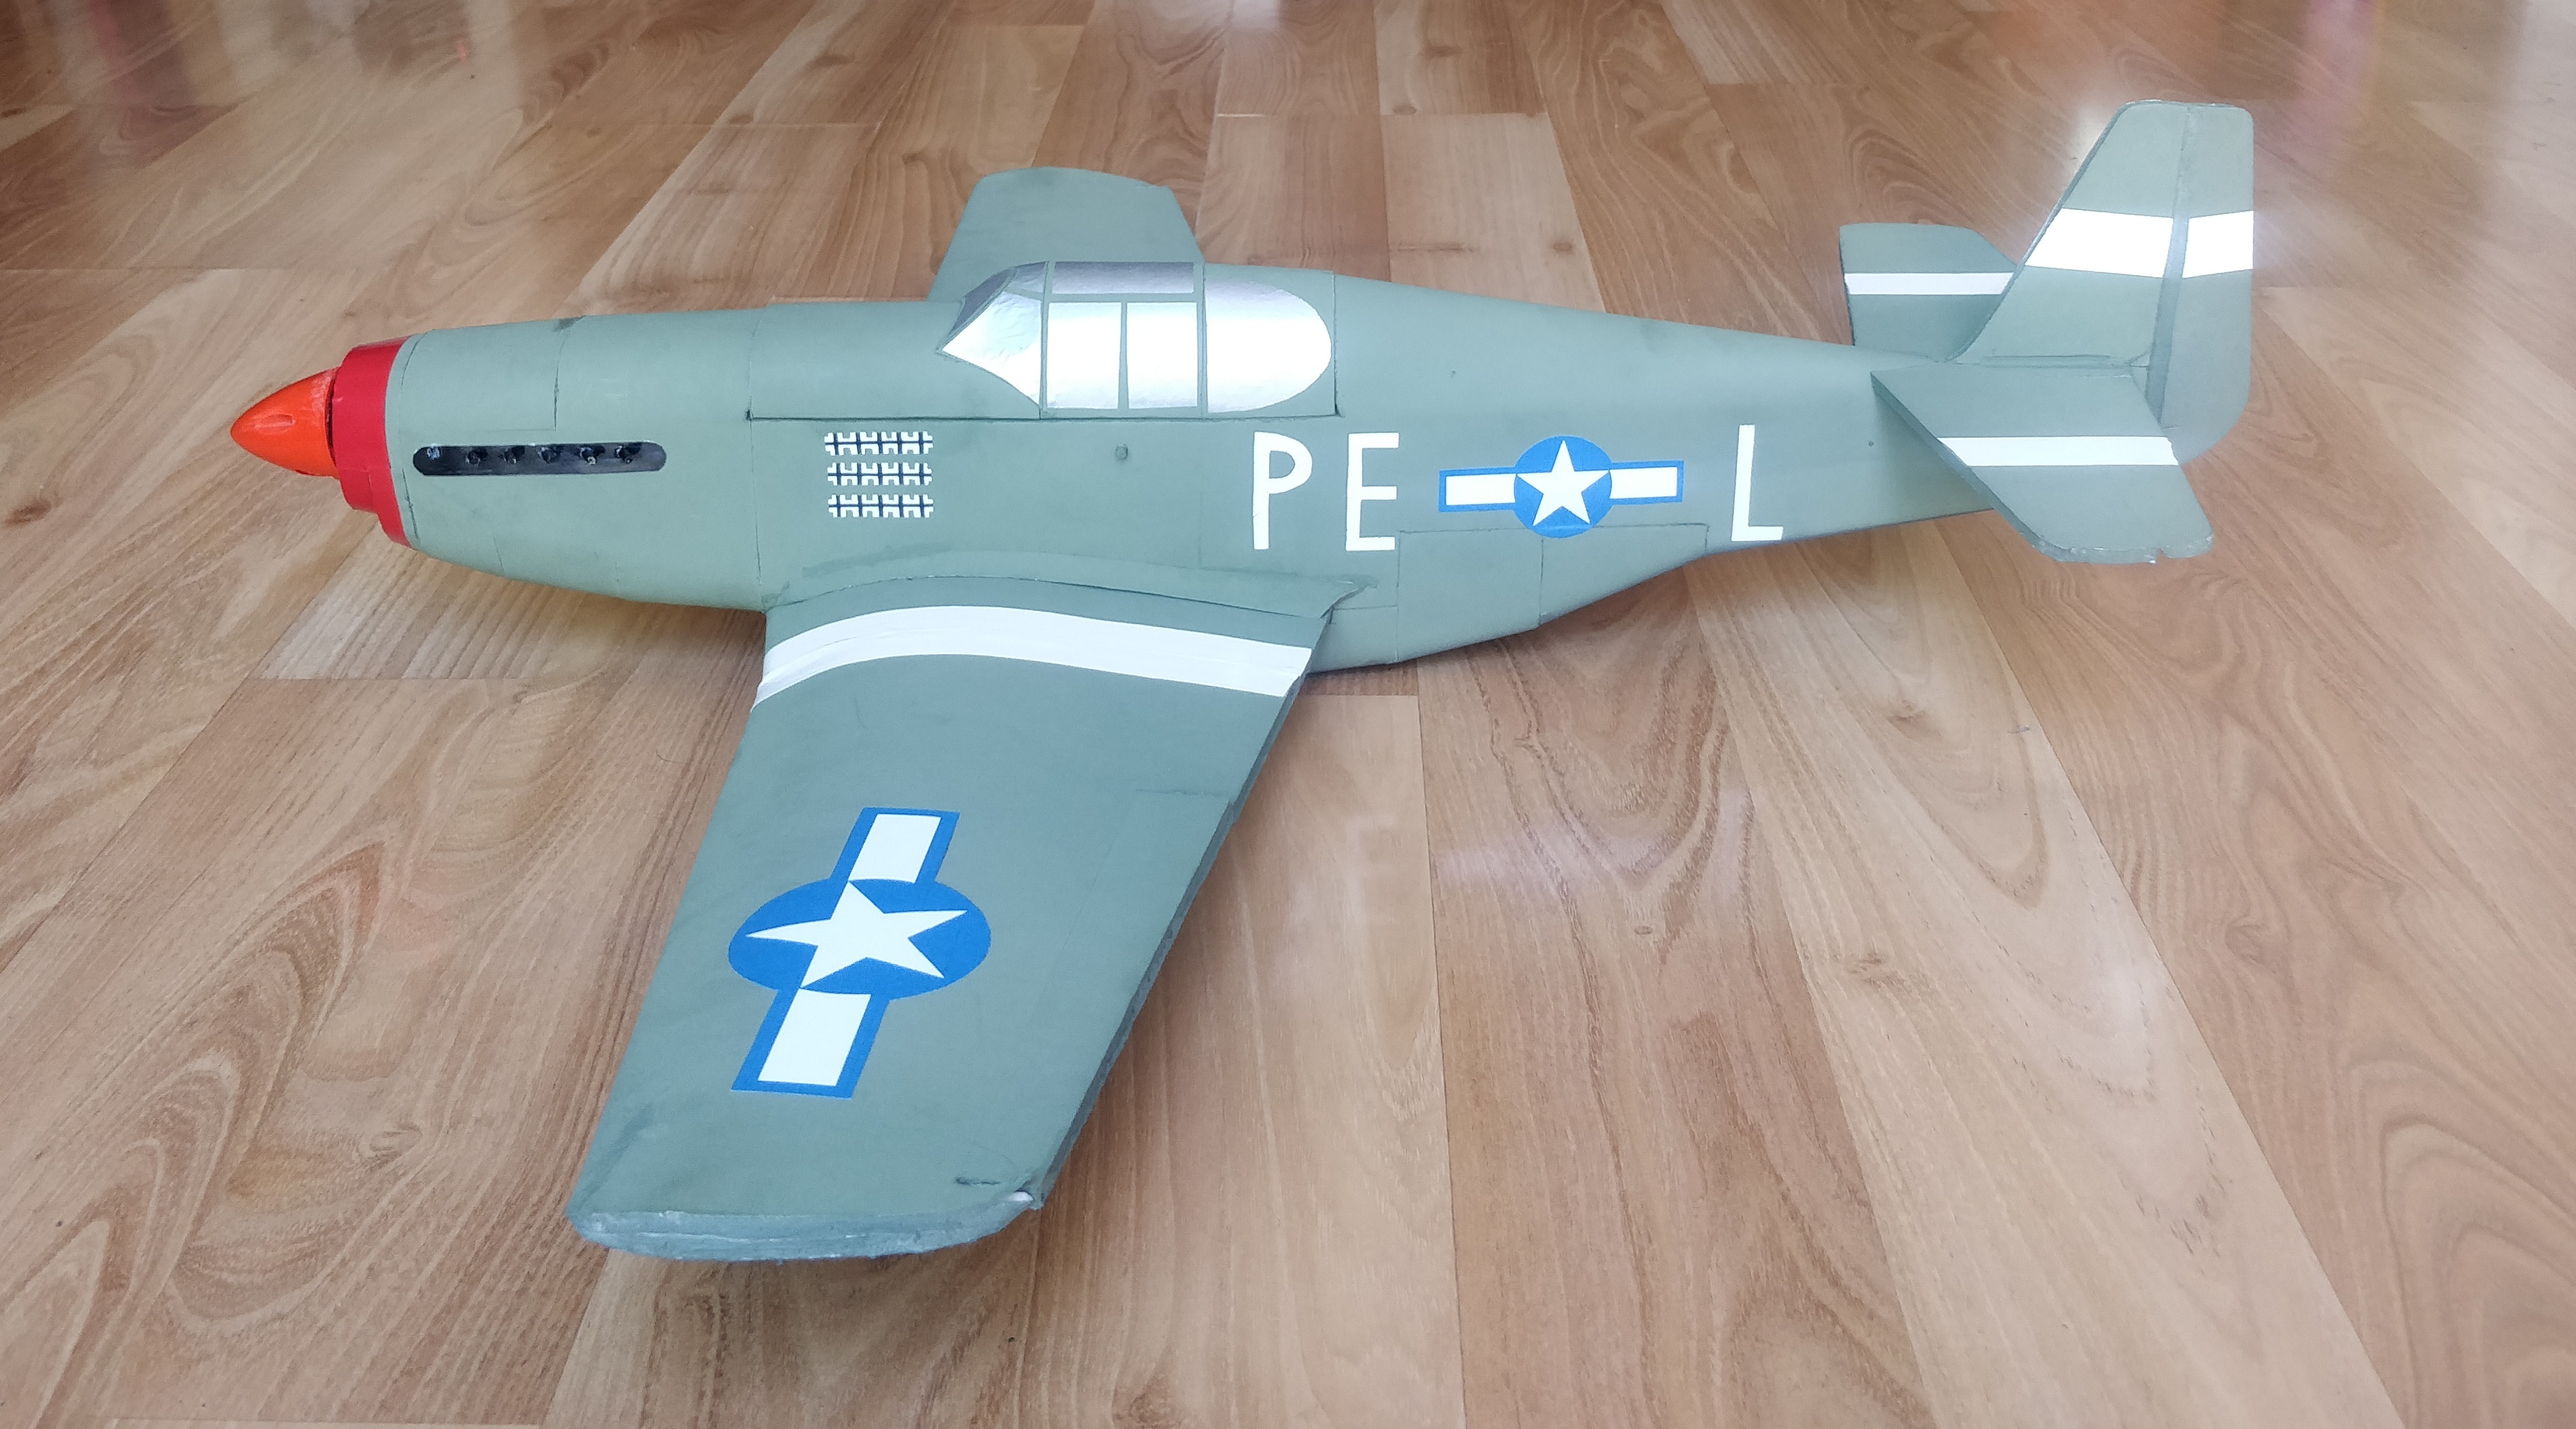 I must admit that I was not the most ardent fan (nor the most informed) regarding P-51's until I began researching the history of the B-model. After learning more about the Tuskegee Airmen and the role of this bird in WWII, I looked up and realized that I was neck-deep inside the rabbit hole! Not many weeks had passed before I found myself spending late nights downloading blueprints and drawing dimensions for a new aircraft design of my own.
 After several months of CAD design, prototyping and test flights, the model is finally ready for public release. You will find in this article details regarding its build process and flight characteristics.
 To obtain a quick taste of this Mustang in the air, check out the test flight of the first prototype, embedded below.
Model Specifications:
Wingspan: 29" , 737 mm
Propeller: 6x4, 2 or 3-blade
Motor: 2205 2300+ KV (F pack)
ESC: 20 to 30 amp
Servos: three to four 5-9g servos
Battery: 3S 800 to 1300 mAh
All-up weight: 355 g , 12.5 oz
Dry weight: 275 g , 9.7 oz
Free Plans and Build Guide:
Free plans for this build are attached below! The document contains both the full-sized plans (ANSI D 34" x 22" sheets) and the tiled plans (Letter 8.5" x 11" paper) for printing at home/work. Make sure to print these plans at a scale of 100%.
MiniacRC Mini P51B Mustang AIO PLANS.pdf
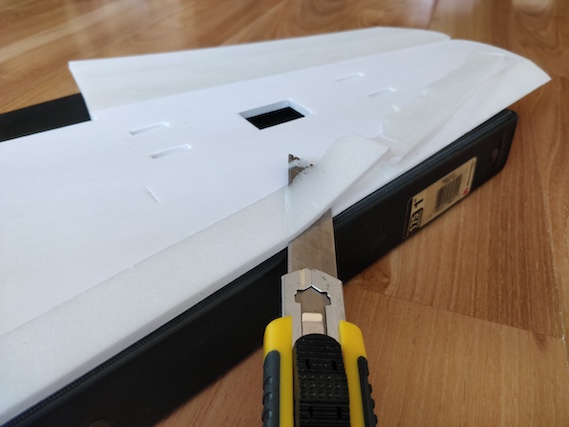
Solid black lines are meant for cutting and dashed red lines are for scoring. Regions filled with diagonal cyan lines are meant for bevel cuts, blue dotted areas are for removing paper, and green cross-patterns are for removing paper and foam. When transferring the plans to foamboard/posterboard, align the grain direction indicated on the plans with that of the material. Doing so will allow molded pieces to bend around the material's natural grain axis, deterring the formation of unwanted creases.
In addition to the plans, please also download the illustrated build guide, a document that outlines the materials and steps needed to go from printed plans to a flight-ready Mini P51 model.
MiniacRC Mini P51B Build Guide.pdf
Each page consists of images and descriptions that detail the nuances of specific build steps. The techniques involved in the construction of this model are not much different from those needed to build FliteTest design such as the Mini Alpha and the FT Mig 3. However, the length of the assembly process, coupled with the amount of molding, edge-beveling and sanding make it a strong intermediate build that requires the modeler to possess significant experience with foamboard and swappables.
The key to success for models as small as this one is patience. When sanding the trailing edge of the wing or molding the nose region together, it may be tempting to rush the process to save time! As experienced builders would attest, however, taking time and paying attention to each square inch of the pieces being glued together will contribute significantly toward the aesthetic appeal of the final product.
The builder is also encouraged to pay commensurate attention to the text and images in the build guide for the same purpose. If there is a part of the aircraft that it not clearly visible in the images contained in the build guide, feel free to consult the digital model linked above.
Key Build Features:
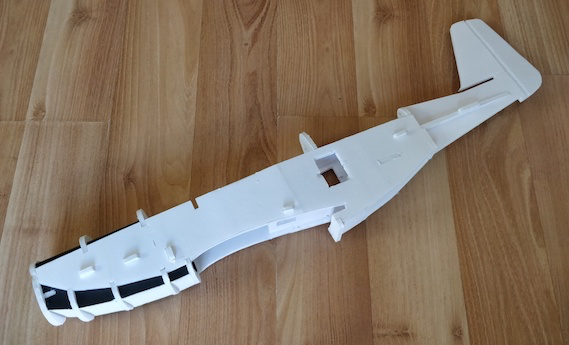
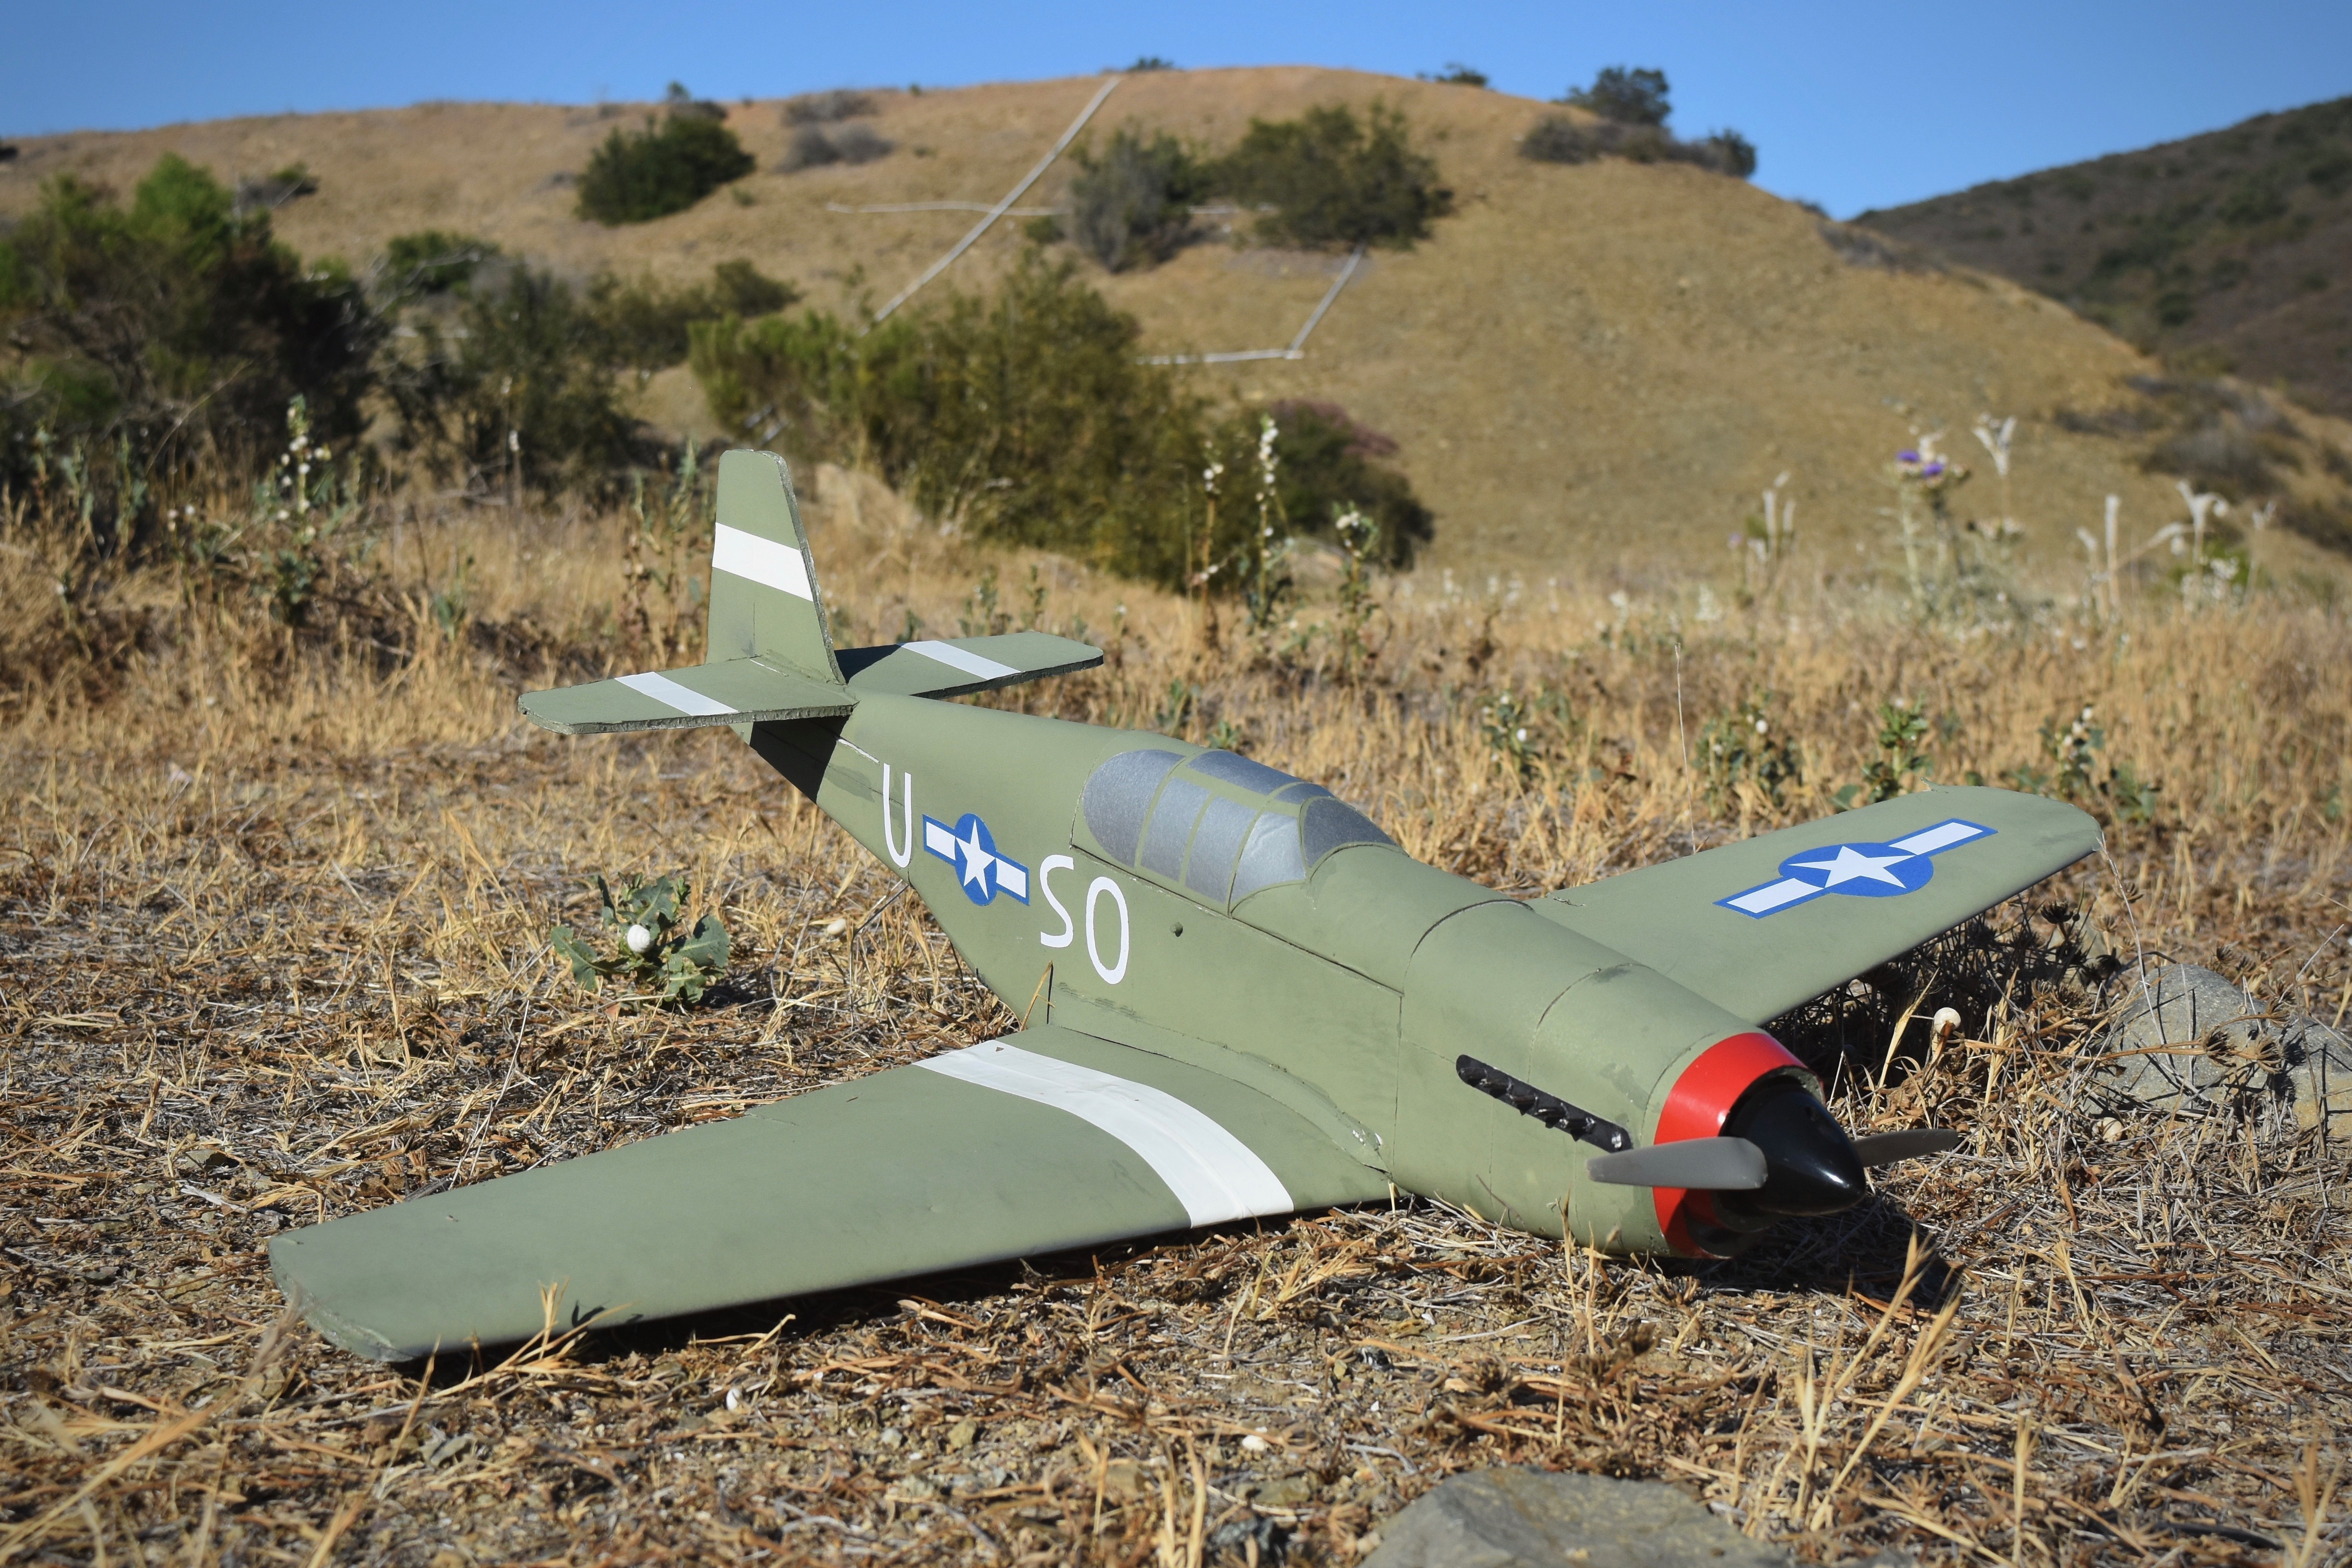
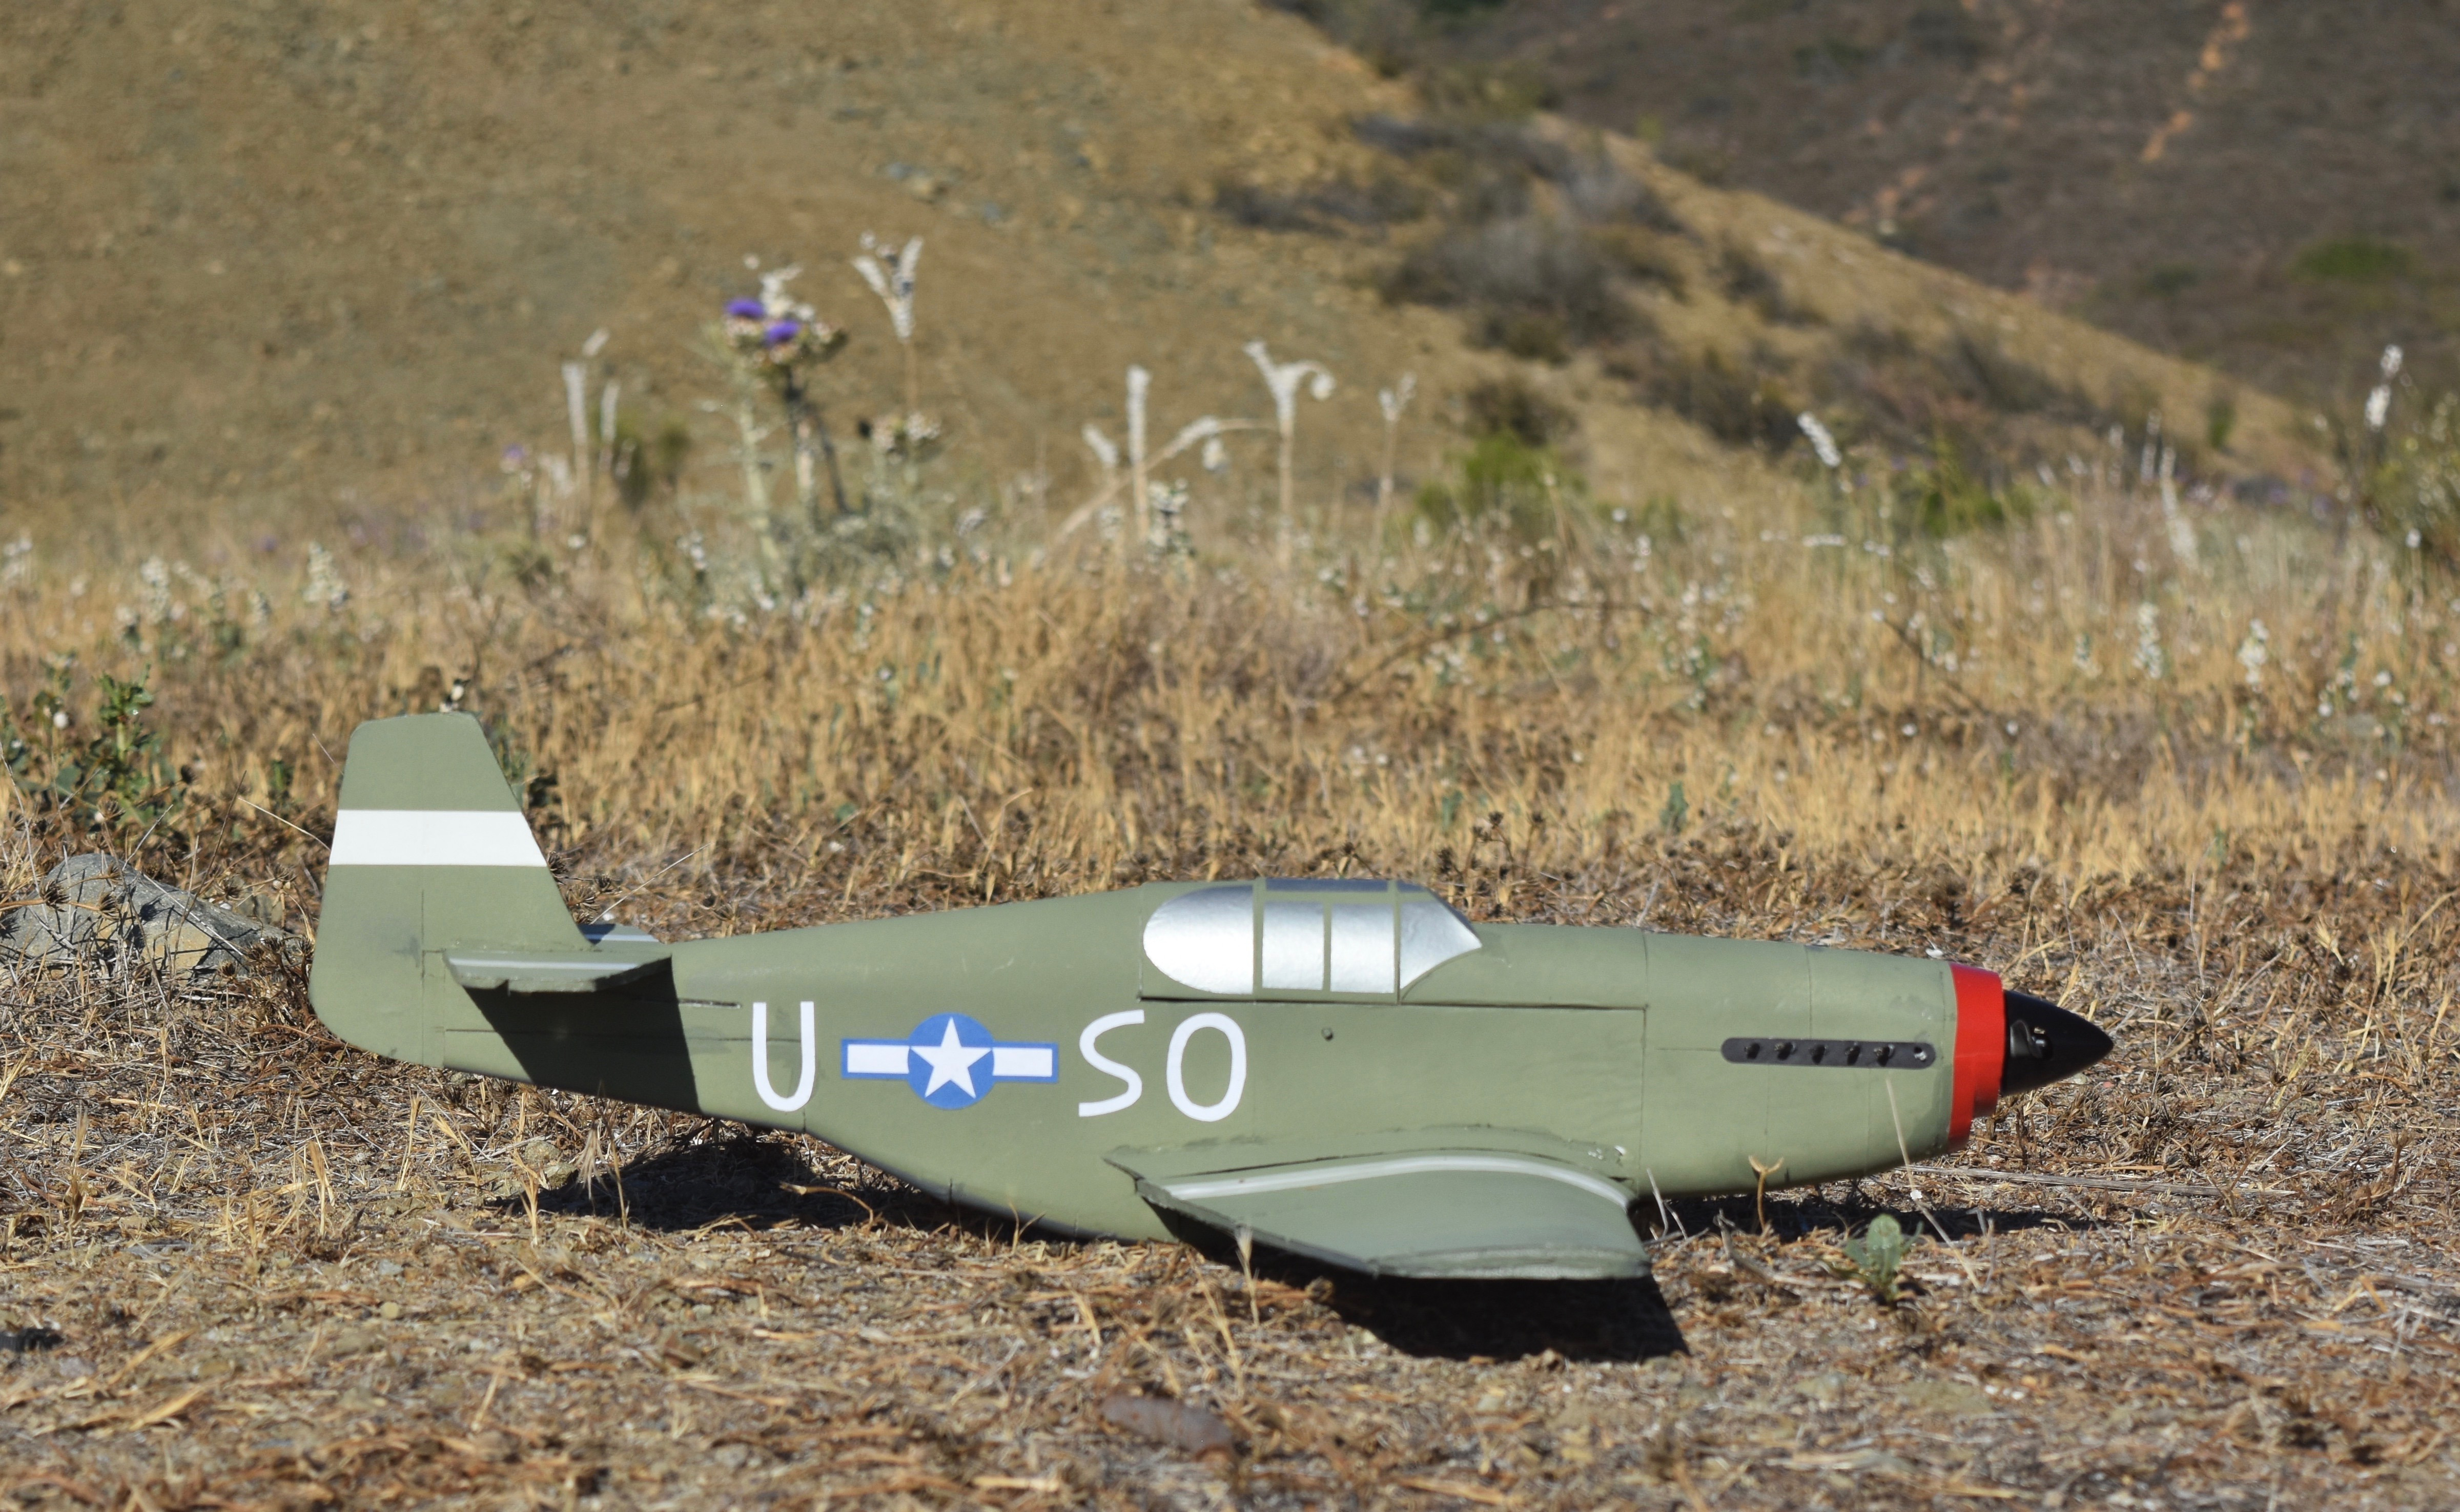
The wing of this Mustang has been designed to lend high maneuverability and healthy slow-flight characteristics. Its upper skin is divided into four sections to realistically portray the leading edge taper of the full-scale P-51B.
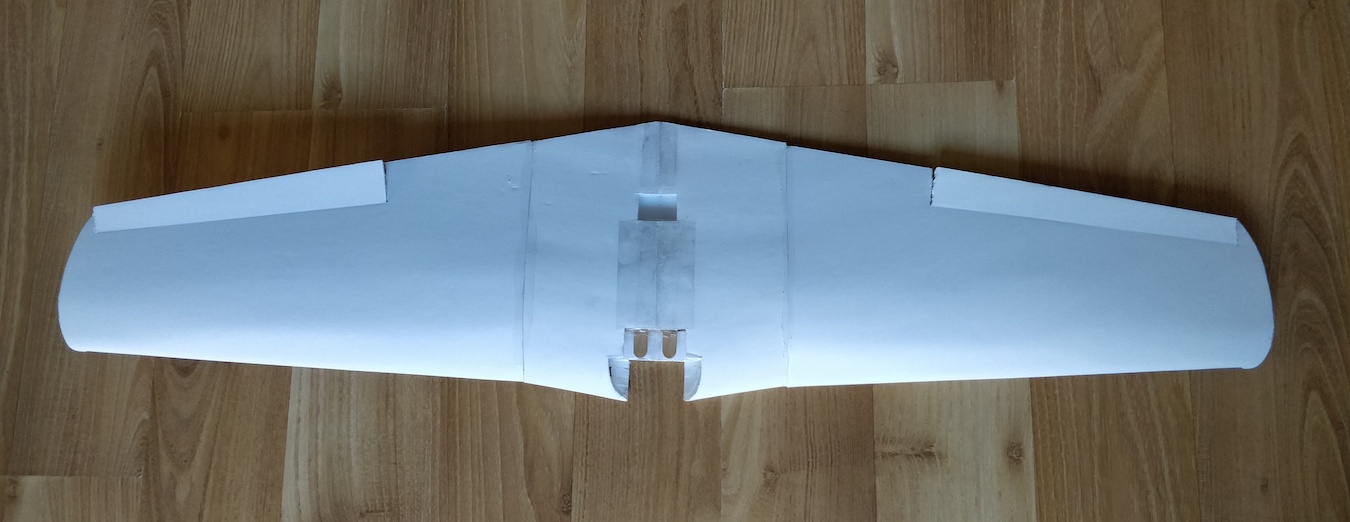 The trailing edge of the wing piece is deeply beveled, creating thick but tapered, streamlined airfoils that provide the Mustang a generous speed envelope.
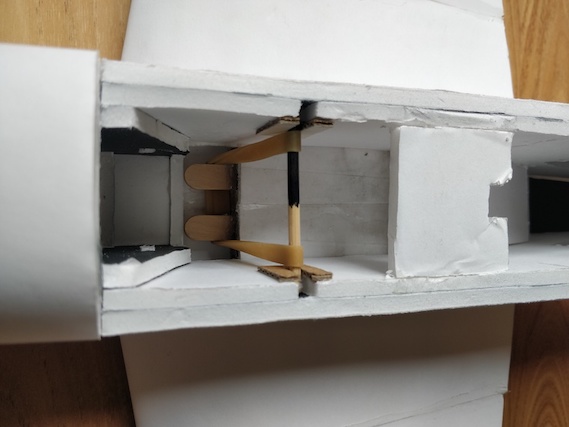
Additionally, the wing is removable for storage and transport purposes! It is secured to the fuselage using a simple locking mechanism consisting of cardboard, tape, a bamboo skewer and a rubber band. To remove the wing, simply lift the skewer from its housing and slide the wing off.
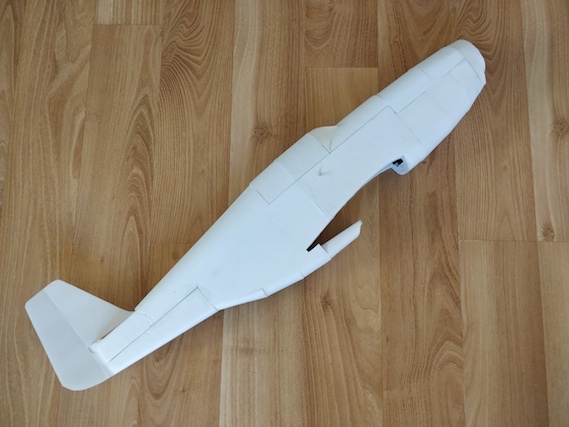
The signature wing is one of the realistic features that makes the MiniacRC P-51B a rather pleasant sight in the air. Another such nuance is the optional molded wing fairing, which sits in between the wing and the fuselage.
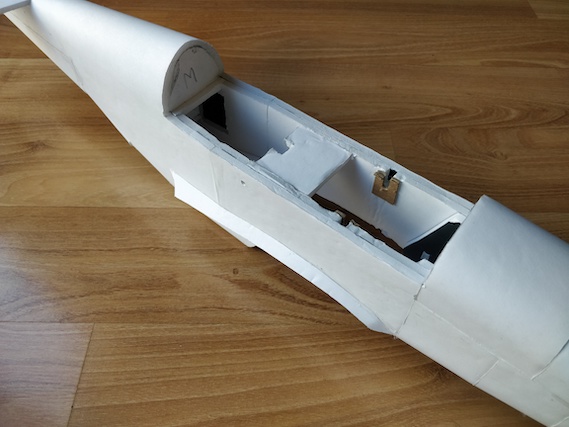
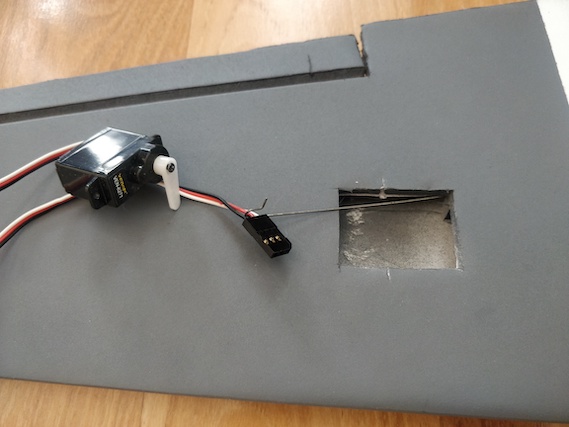
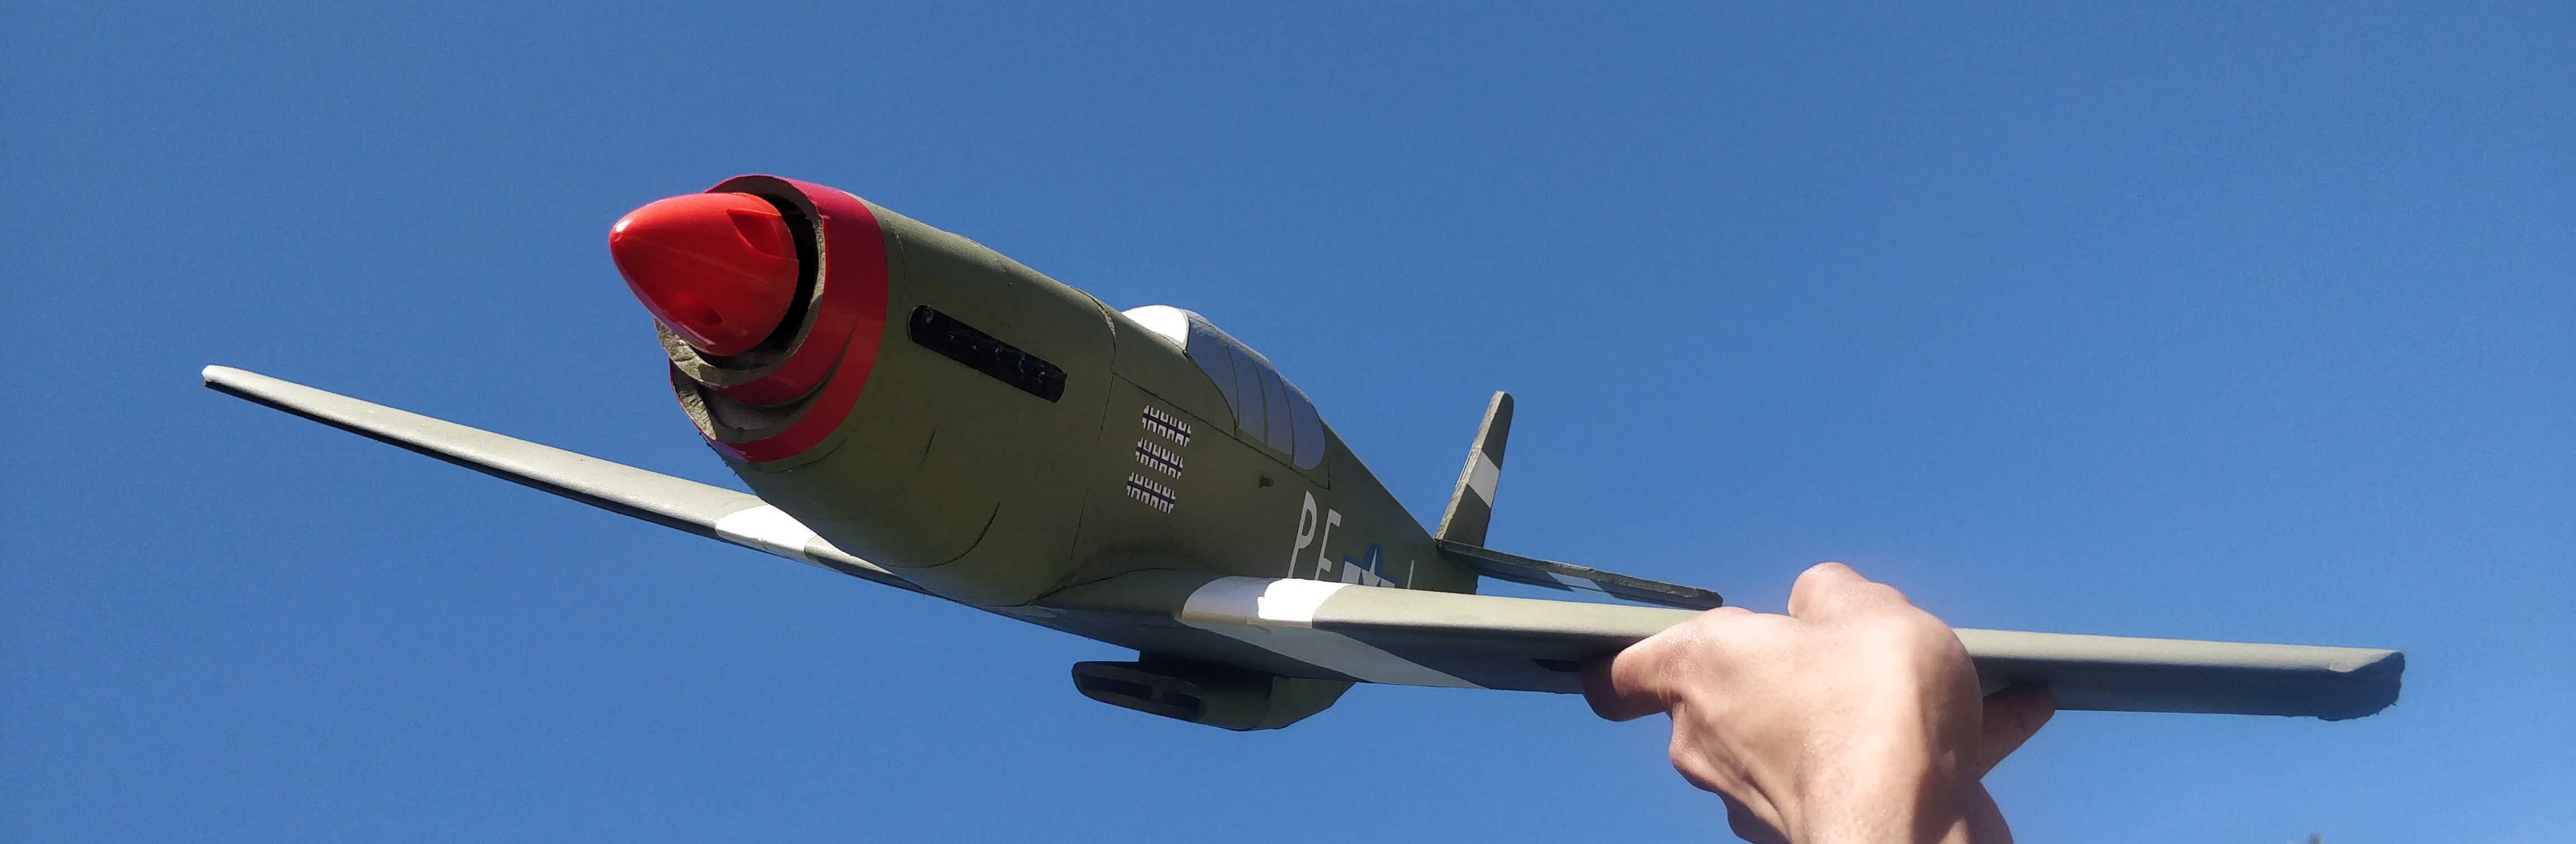
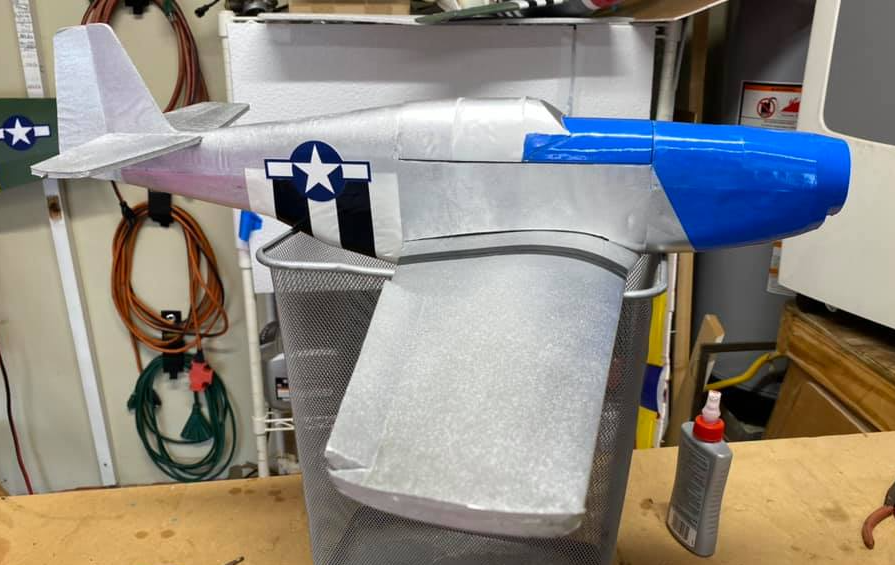
A constant worry for pilots of miniature warbirds is the prospect of crashing in a nose dive and damaging important regions of the airframe. To alleviate those concerns, this model is equipped with a double-layered fuselage and a triple-layered nose section that houses the standard mini powerpod.
The internal structure of the fuselage involves a fairly intuitive construction process that should be assisted well by the images in the "build guide" document attached above. Once completed, it should have generous space for control linkages, the power system and most importantly, the battery.
Arguably, the most challenging steps in the build are the molding of the fuselage skin and the nose skin. As mentioned in the build guide, please take your time in pre-molding the exposed foam in each of these pieces before attempting to glue them around the internal structure of the fuselage.
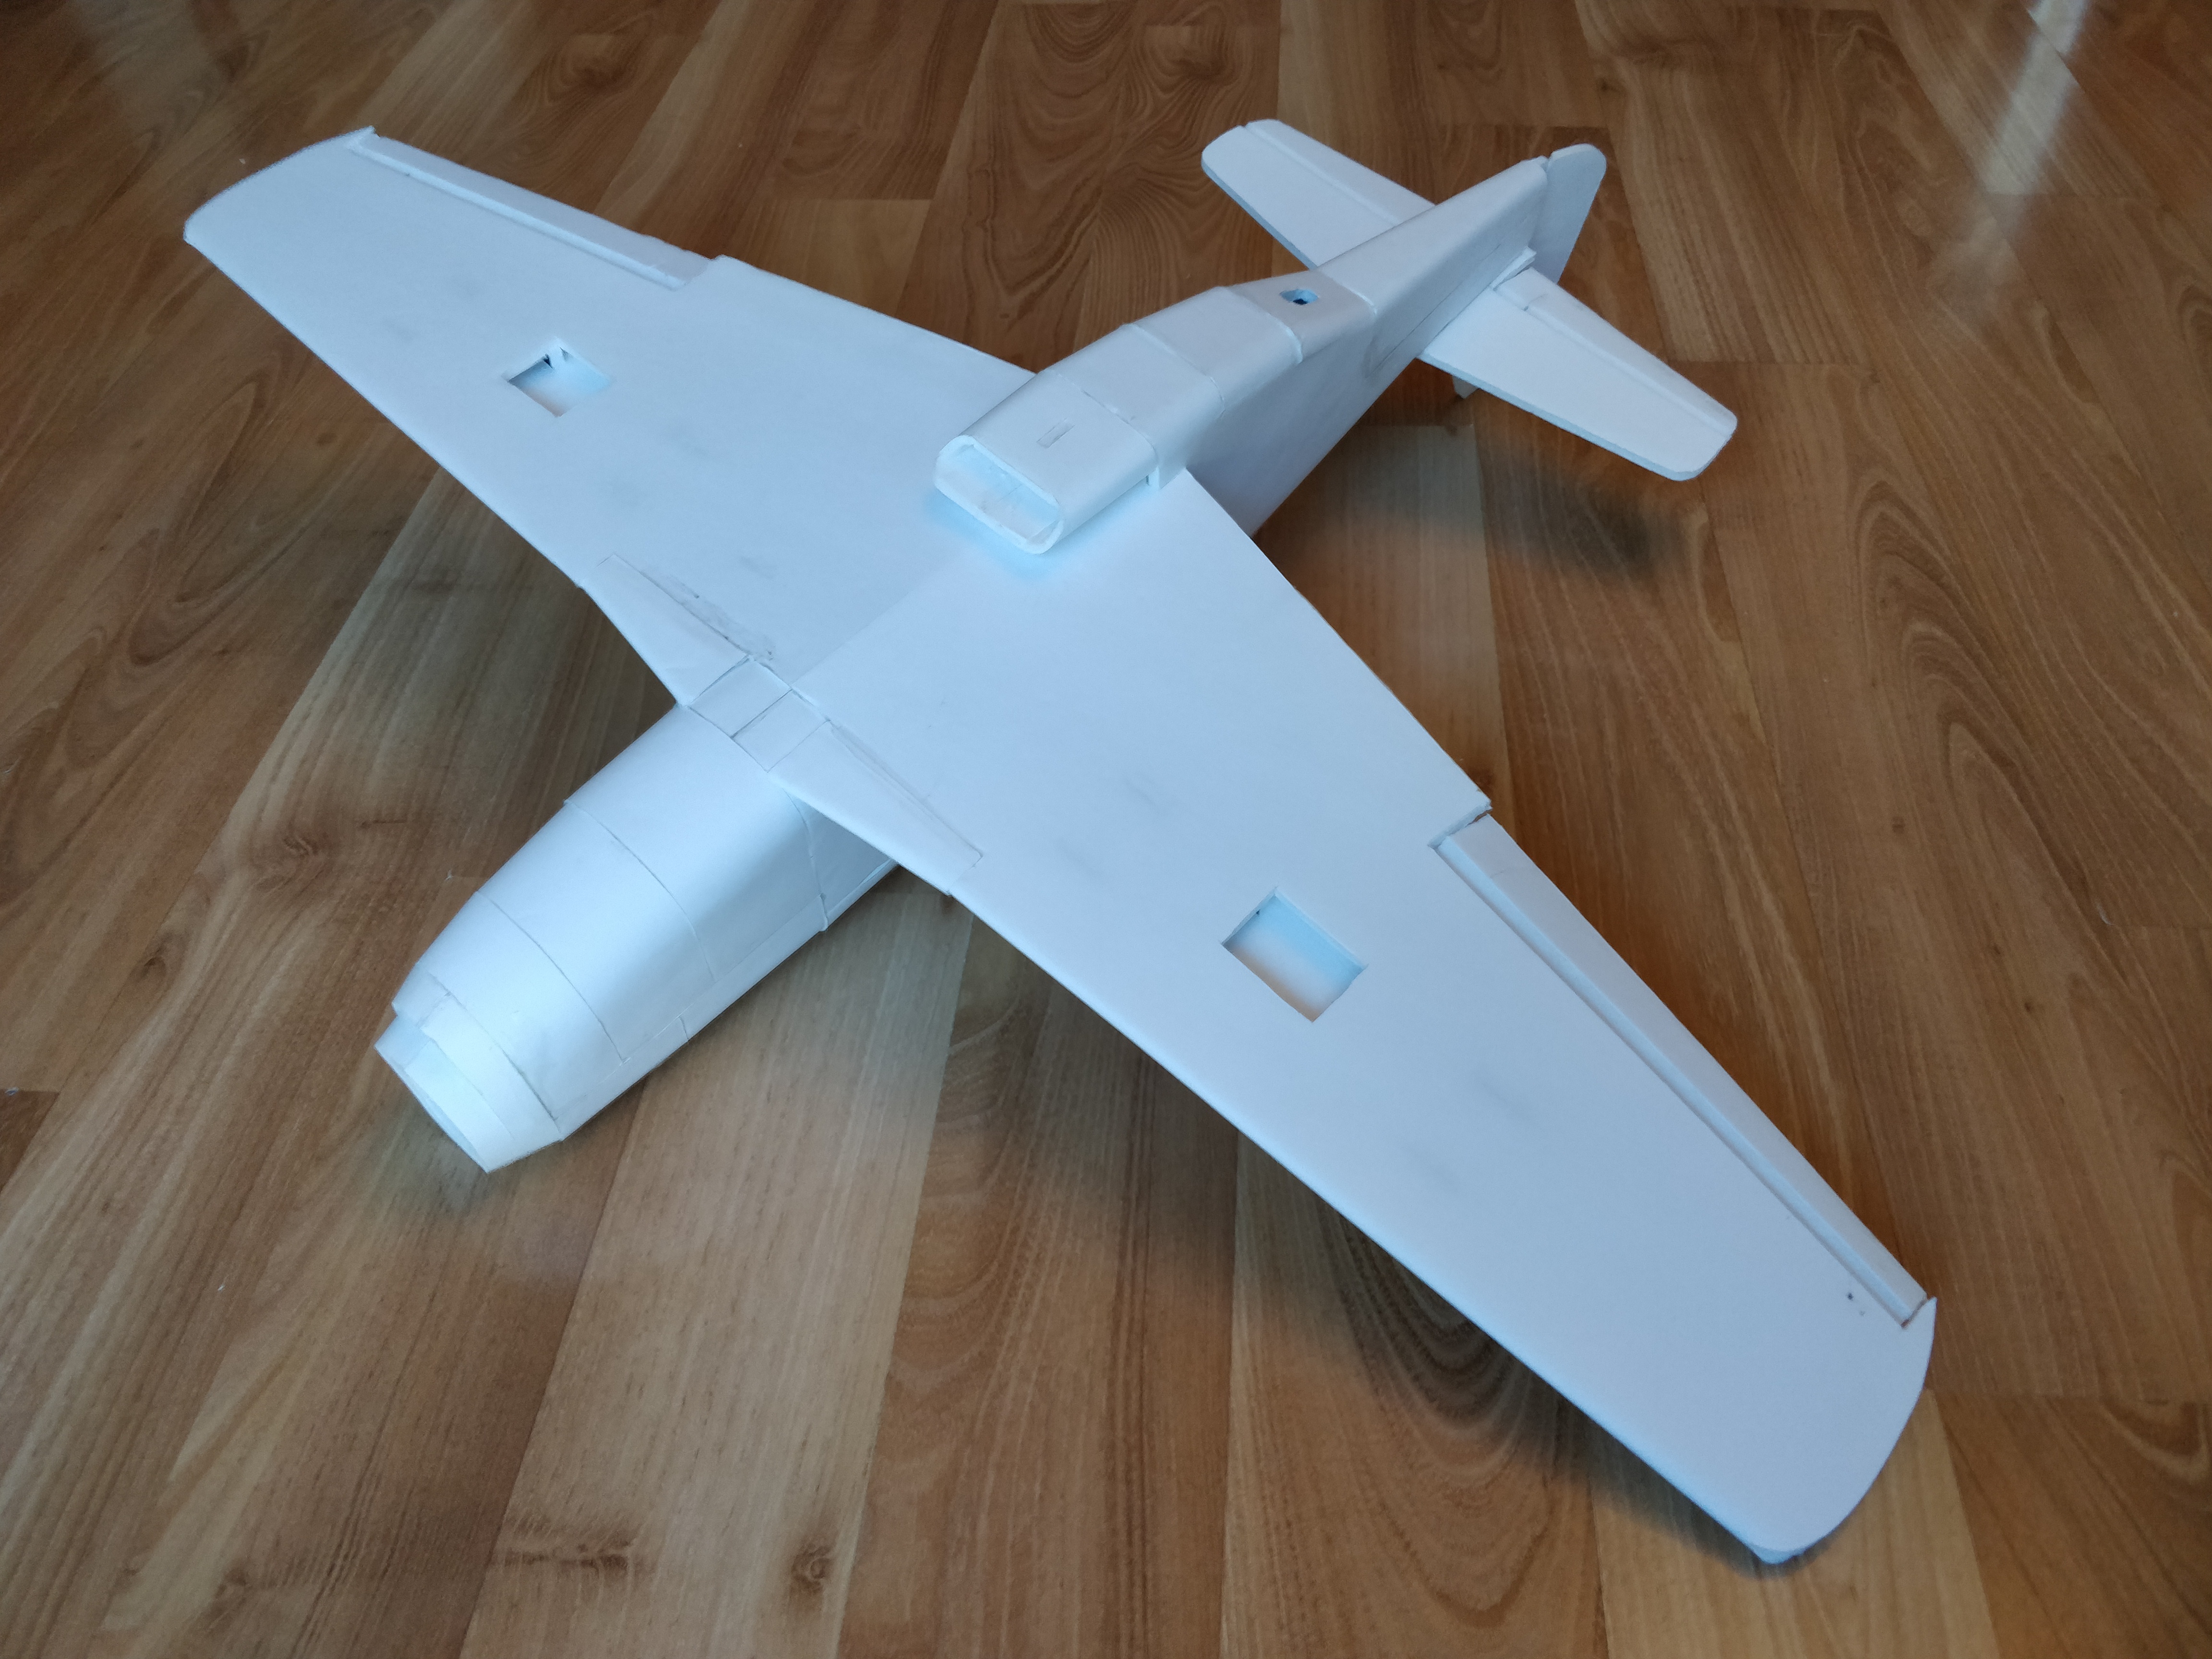
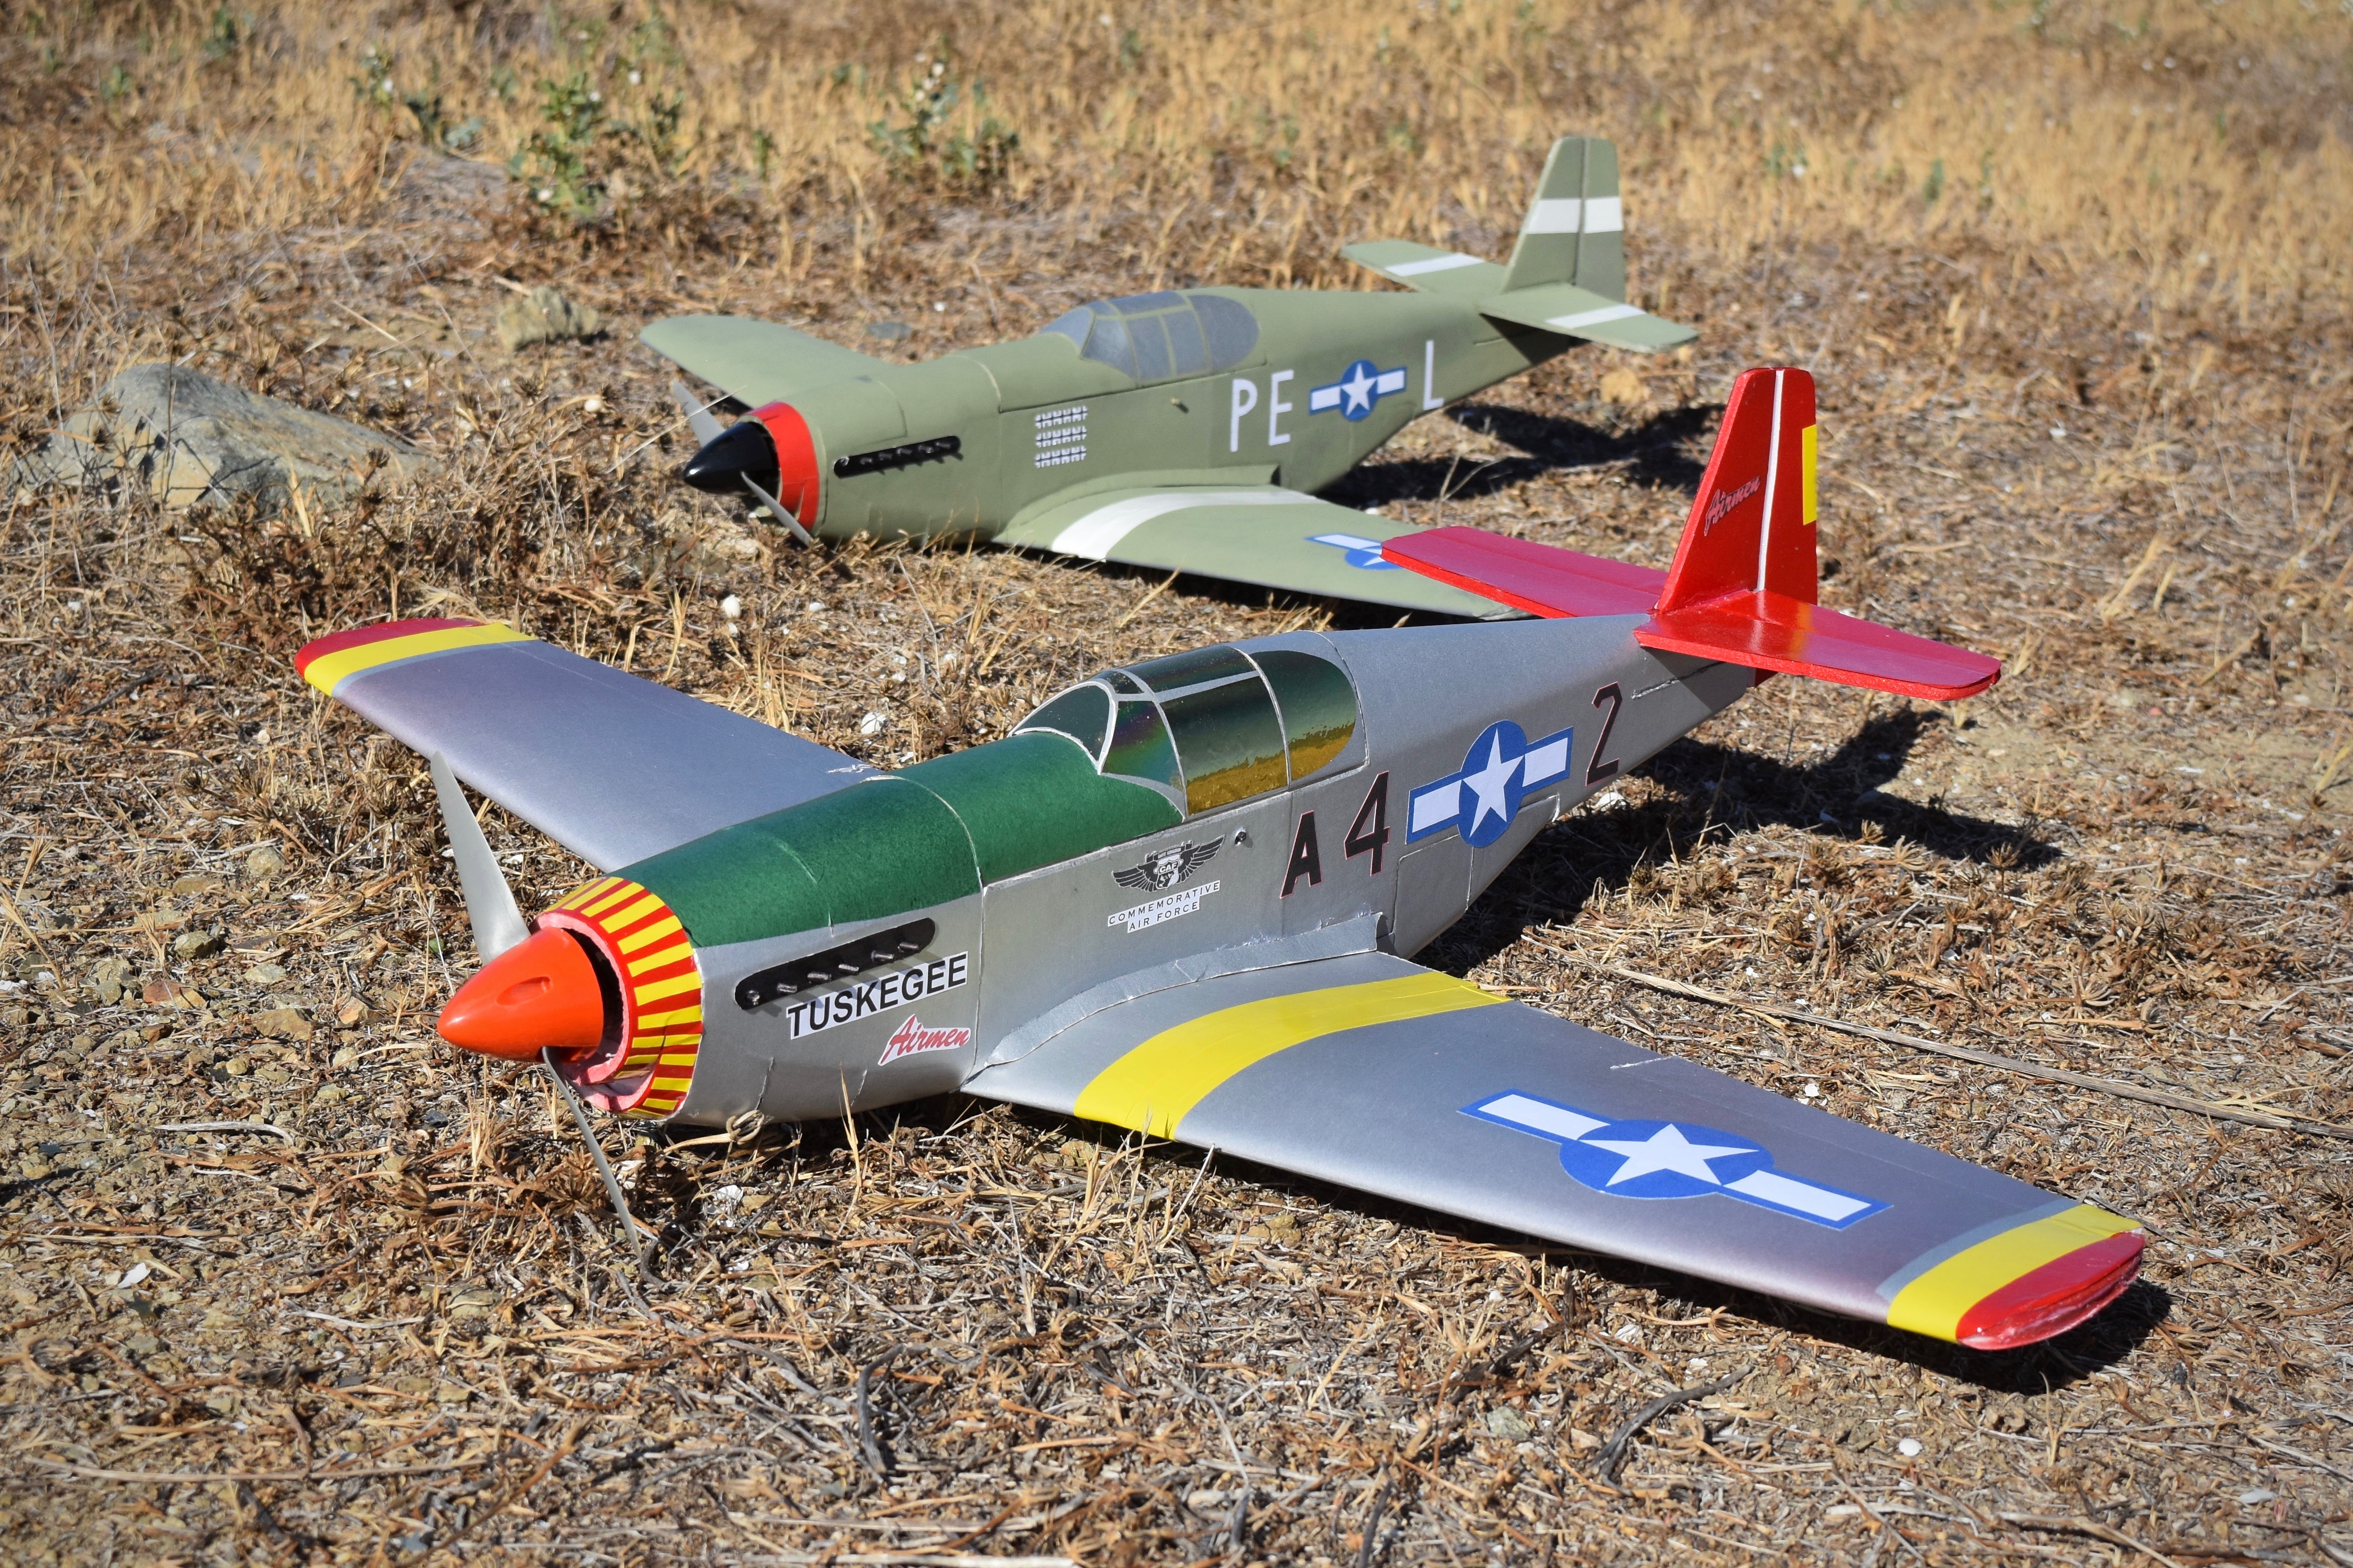
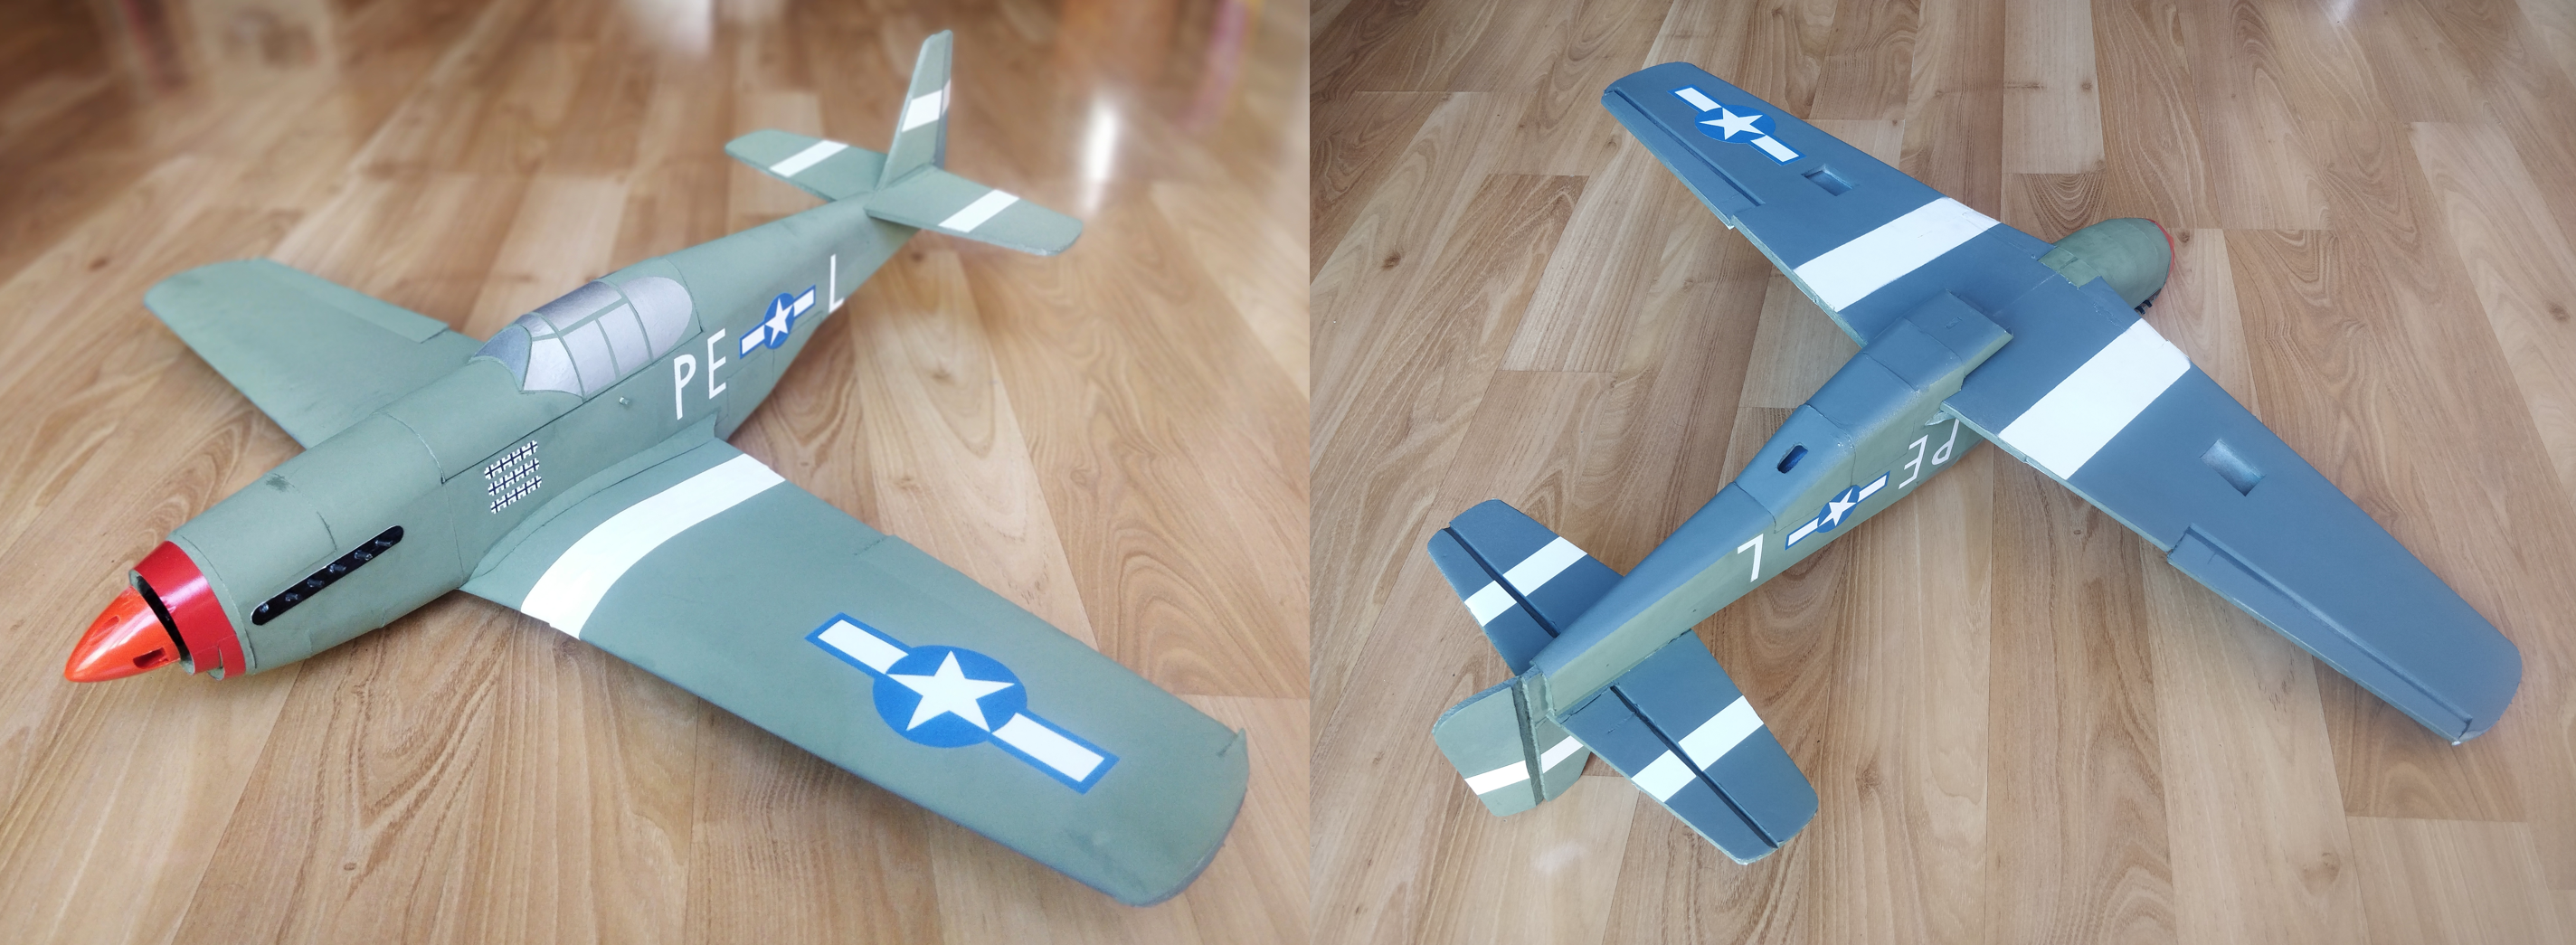
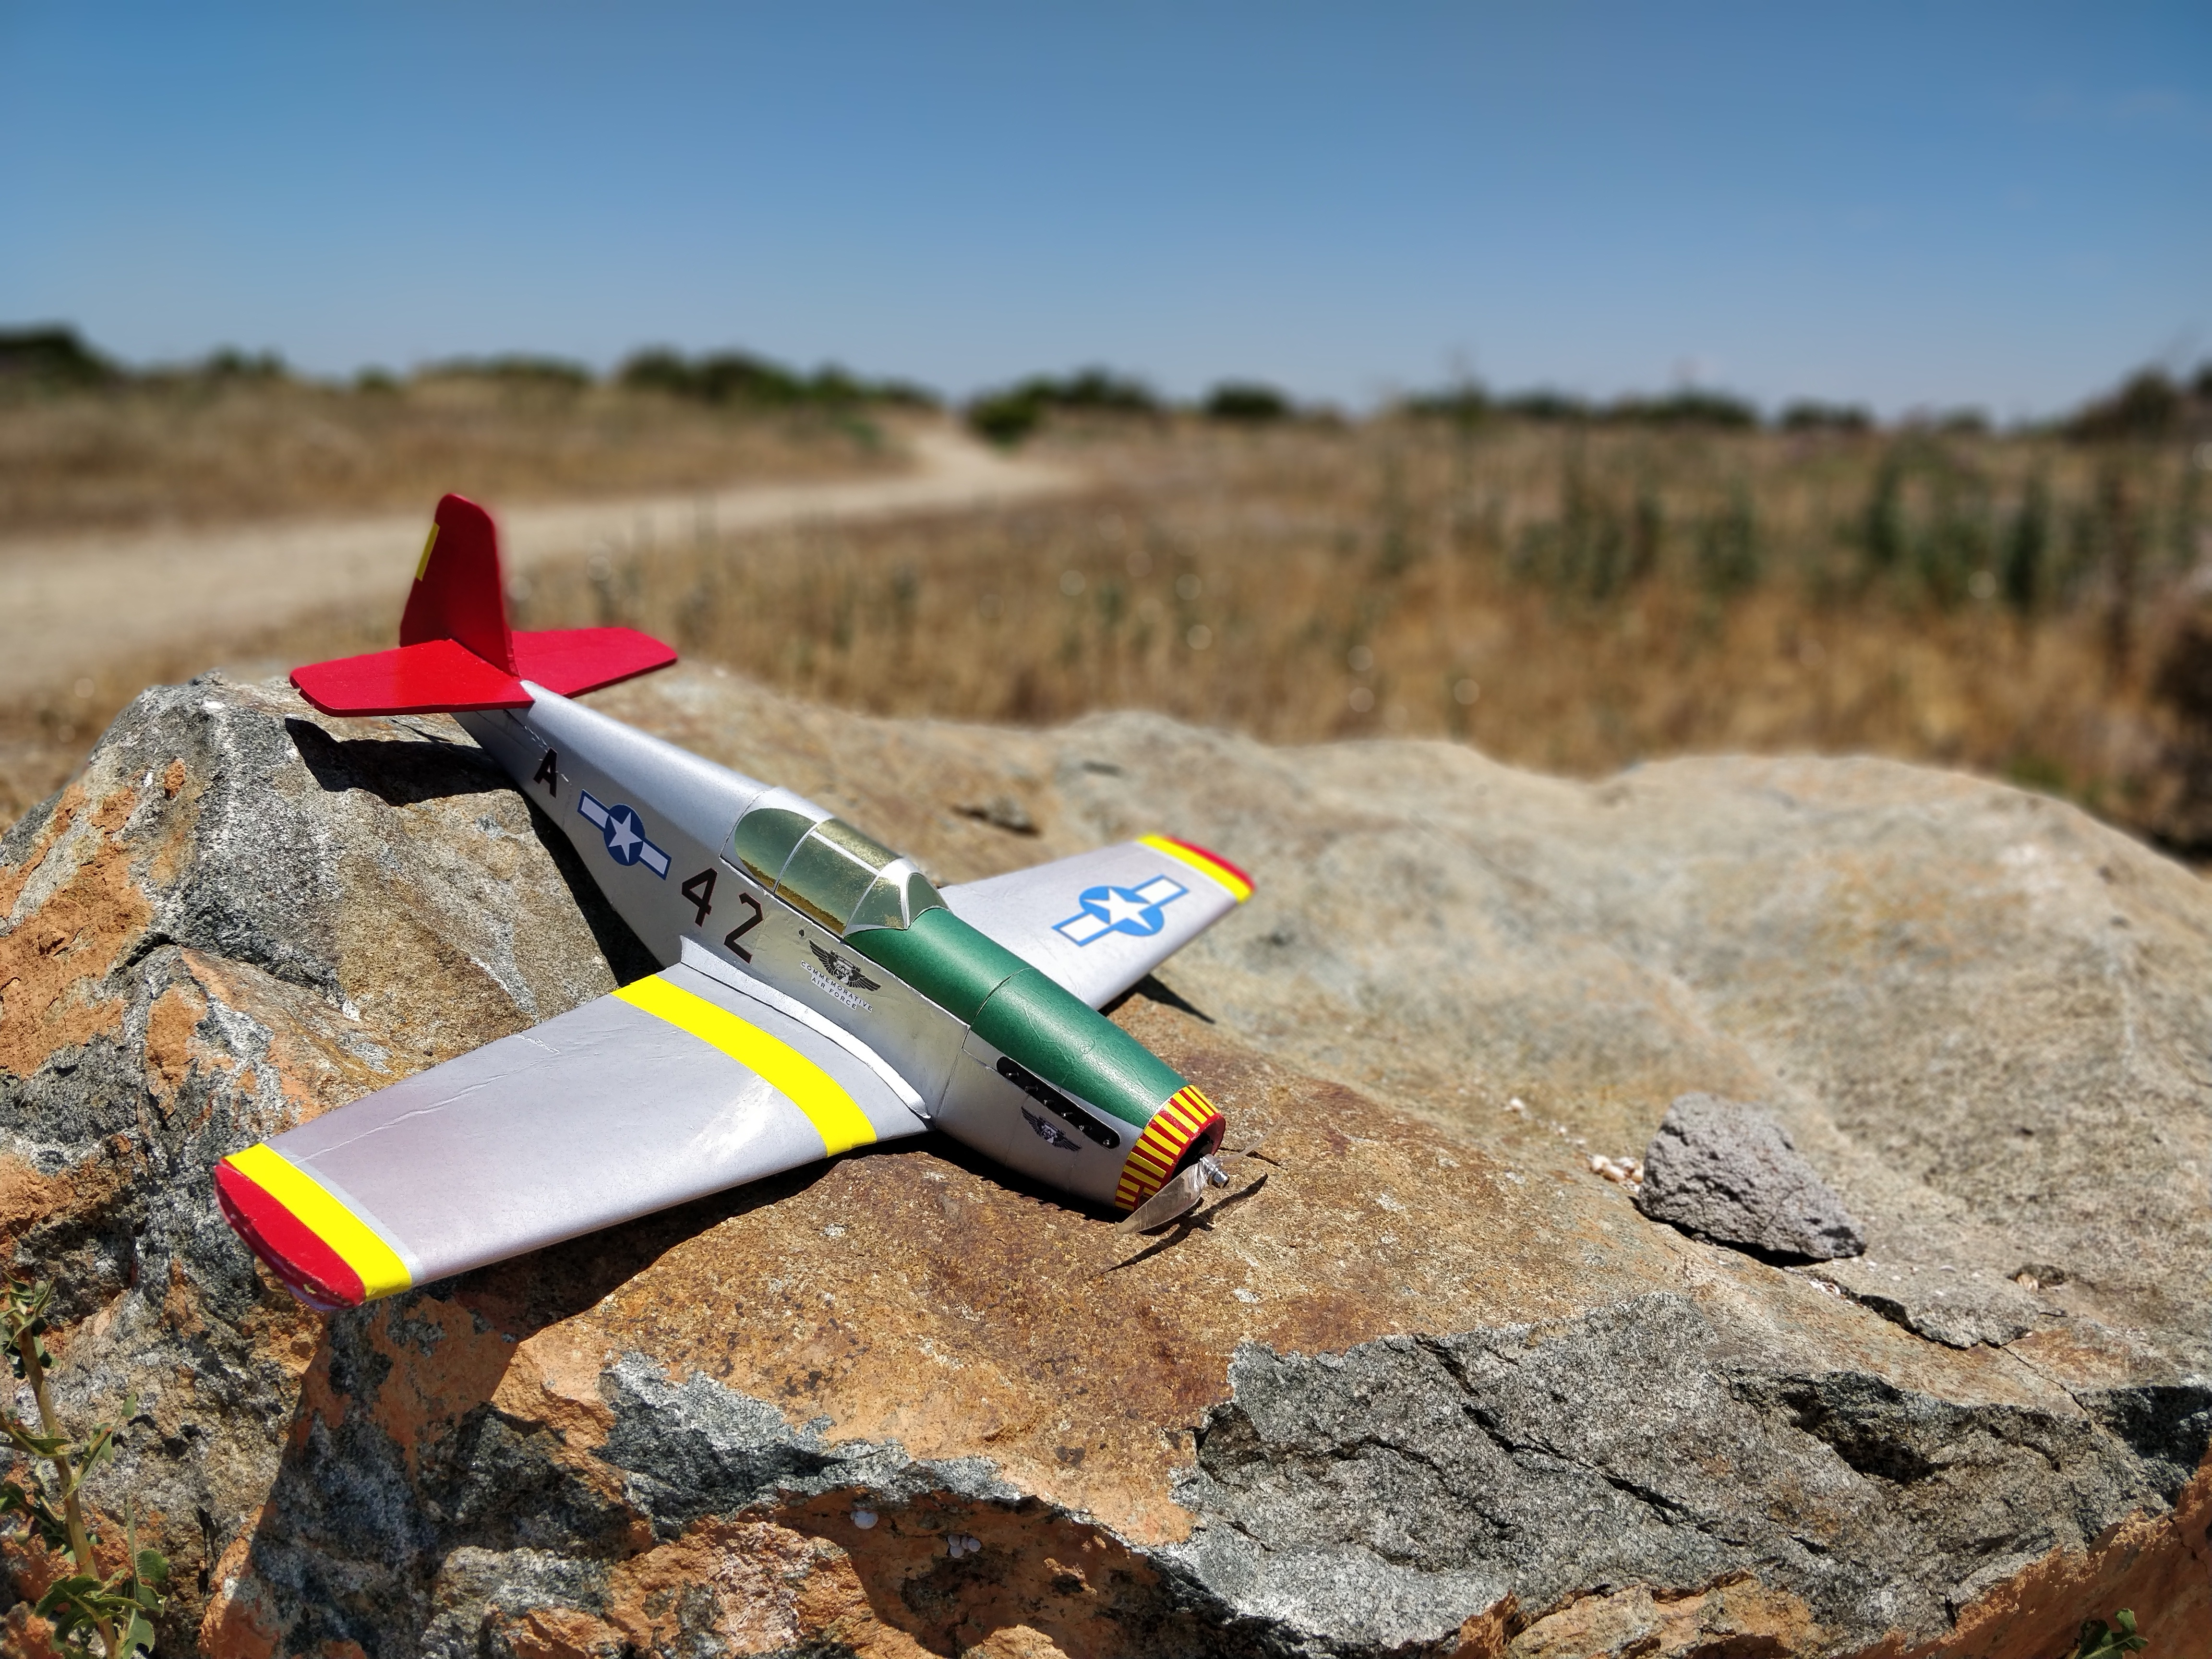
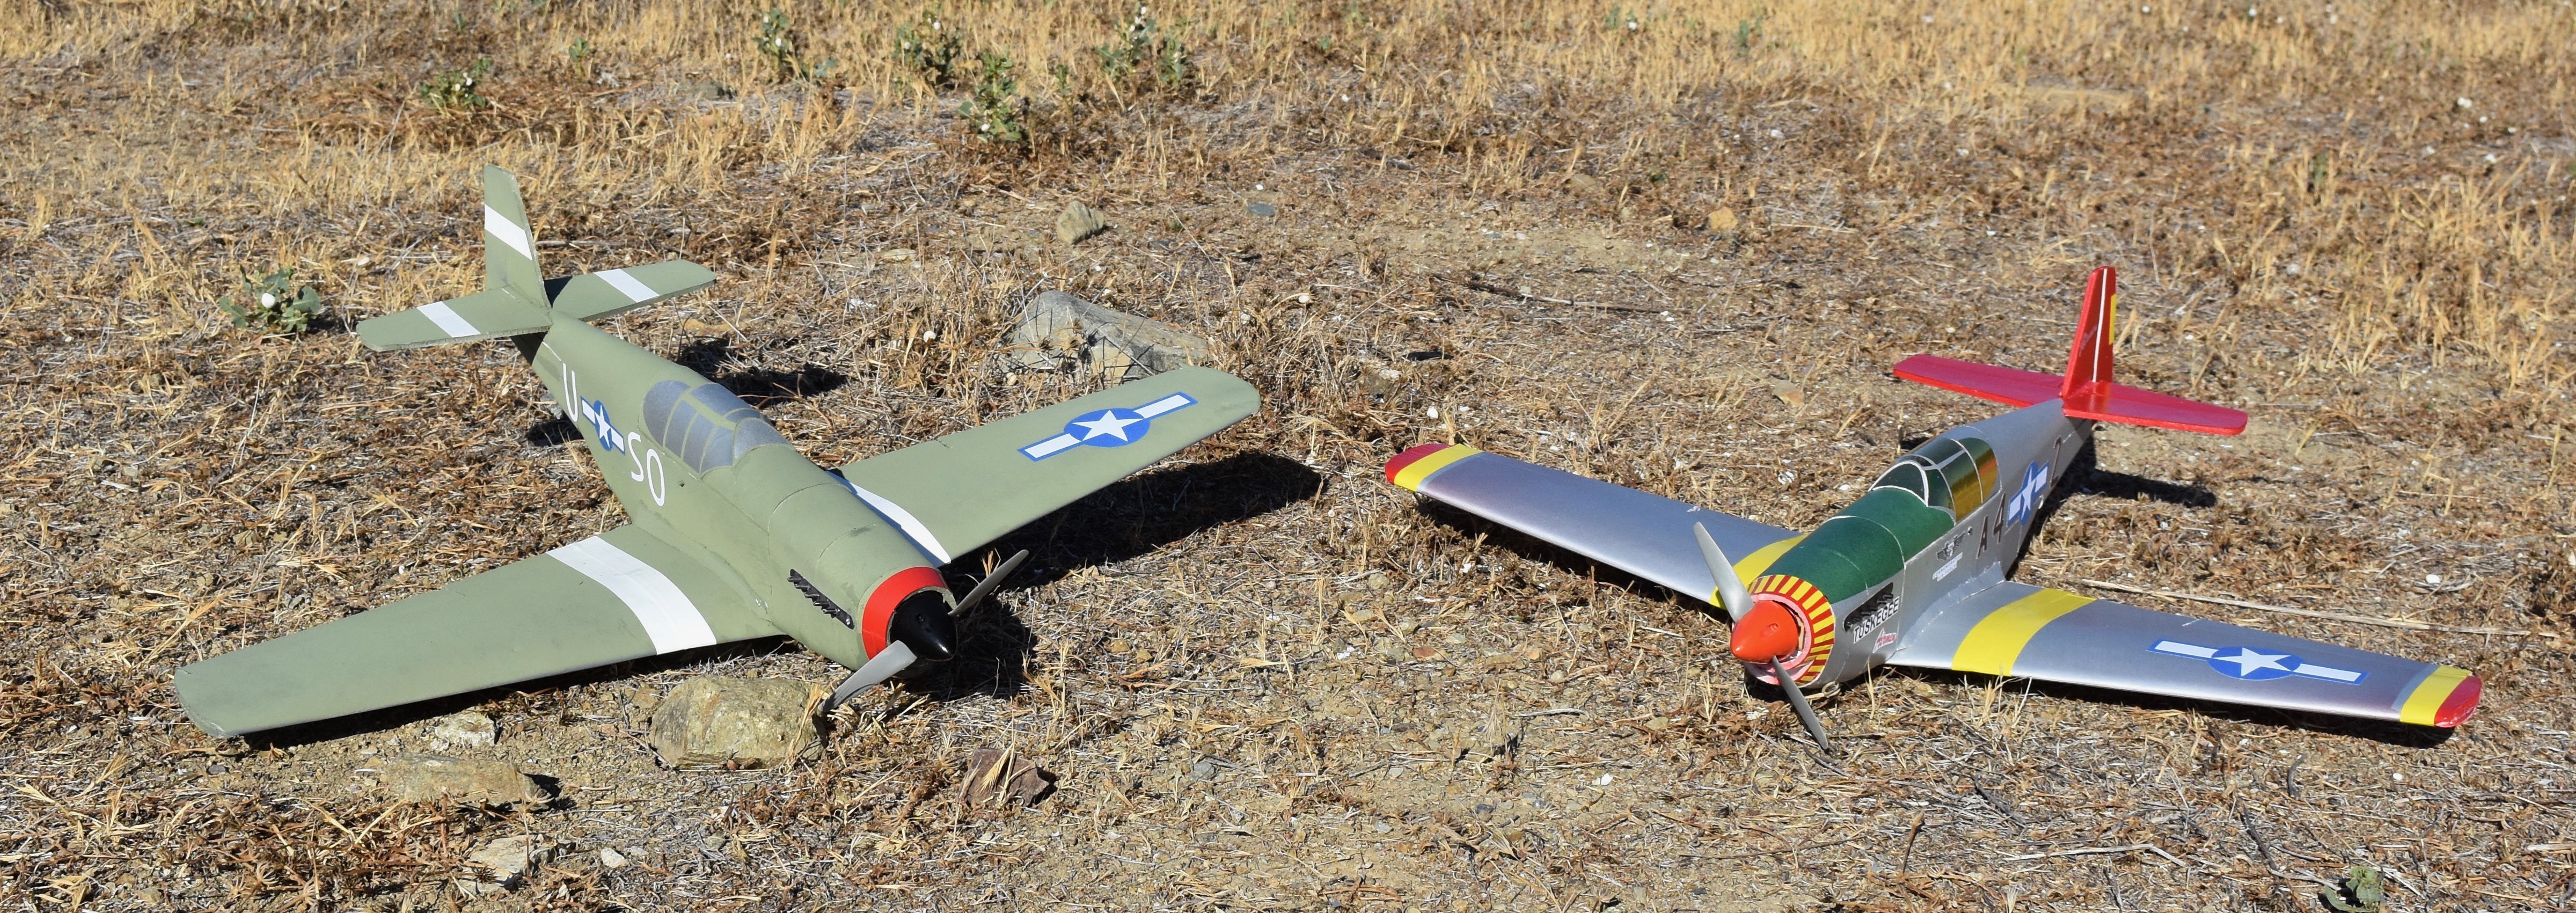
Due to the scale of the build, differences in the size of each piece caused by variations in cutting method (lasercutting, needle-cutting, by hand, etc.) will be relatively consequential with respect to the aesthetic quality of the build. Nevertheless, taking time, planning ahead and sanding/trimming where necessary should level those disparities and yield a pleasantly realistic result: for example, of the two models shown in the opening picture of this article, one is cut by hand and the other by laser.
Electronics for this model can be added after the build is complete. The removable wing yields access to the aileron servos and the removable upper hatch provides direct access to the electronics housed by the fuselage.  The tail servos sit inside a recessed portion of the fuselage, freeing up extra space for the receiver, ESC and wire bundles. The battery sits inside the "nose box" compartment (forward of the wing and behind the powerpod) with ample sliding room for the pilot to fine tune the CG of the aircraft.
Flight Experience:
Once the wing and hatch are secured, the battery strapped in, and the recommended center of gravity (listed on the plans document) confirmed, you are ready to fly your Mini P-51B!
 Launching this model is a no-brainer. Simply hold the fuselage from the top or the bottom, apply 50% – 75% throttle, and give it a firm toss at about 30 degrees above horizontal. The Mustang should climb out in less than a few seconds and settle into a comfortable cruising attitude.
 Once all the controls are trimmed, the P-51 will become a docile bird with a wide speed envelope. Before pushing the throttle stick all the way forward, try experimenting at the lower end. The 29" wingspan coupled with the relatively high-lift airfoils render a pleasant slow-flight experience with ample roll control.
The same proves to be true at the higher end. With the stock FliteTest F-pack setup, the Mini P-51B can pull up into an unlimited vertical climb and perform loops, rolls, half Cuban eights and more! The generous surface area of the rudder should also allow for stunning knife-edges and point-rolls in the hands of an experienced pilot. This P-51B loves long lines and graceful maneuvers as opposed to abrupt turns, but the structural integrity of the wing allows the model to sustain high g-forces in both directions.
 When it is finally time to land, point your Mustang into the wing and gradually reduce throttle. If necessary, the model can break into a gentle glide on its approach. If you do not install landing gear, it is preferable to land on grass to avoid damaging the paper underneath the nose of the airplane.
 Once you are comfortable with the handling characteristics of the model, feel free to move to the next level and attempt streamer combat, formation flight, etc., and please do share your flight reviews online for the benefit of other builders!
Community Beta Builds:
If you have read any MiniacRC articles before, you are well aware of my love for beta teams! This design was no different in that manner. I would like to sincerely thank all the members of the MiniacRC P-51B beta team for their tireless efforts in testing the beta model and providing critical feedback.
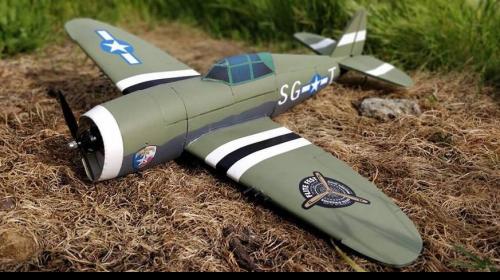
Built and painted by Daniel Basile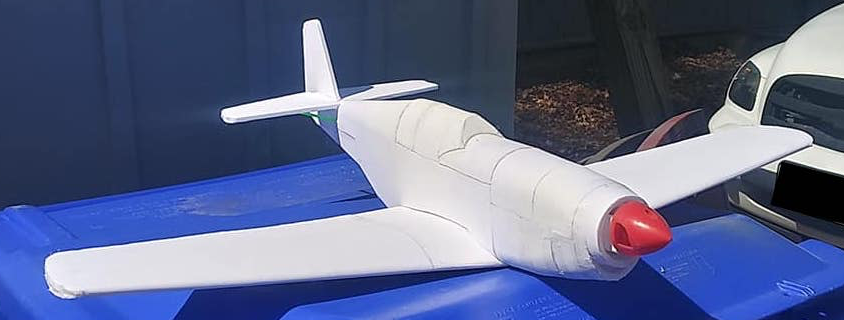
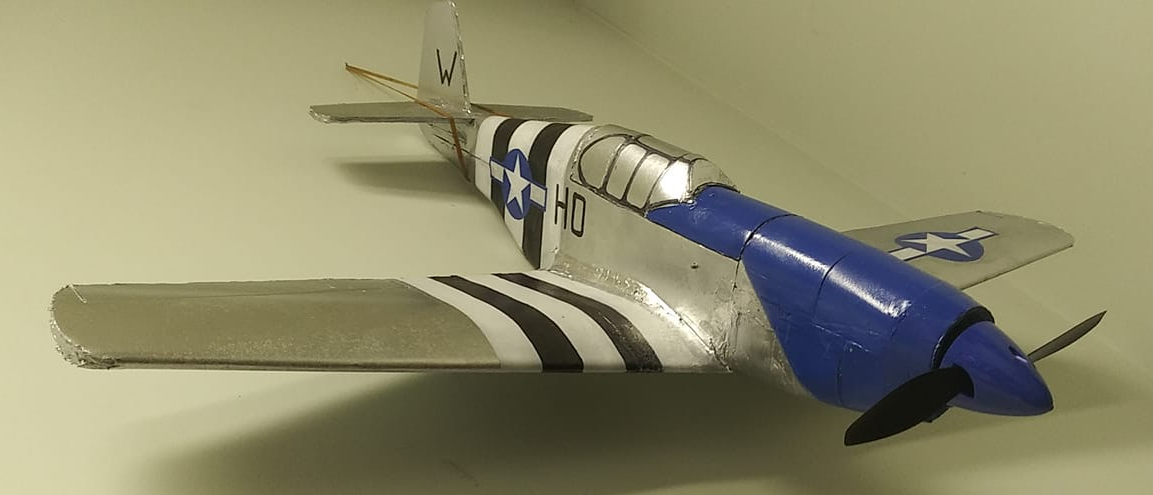 Built and painted by George Coia
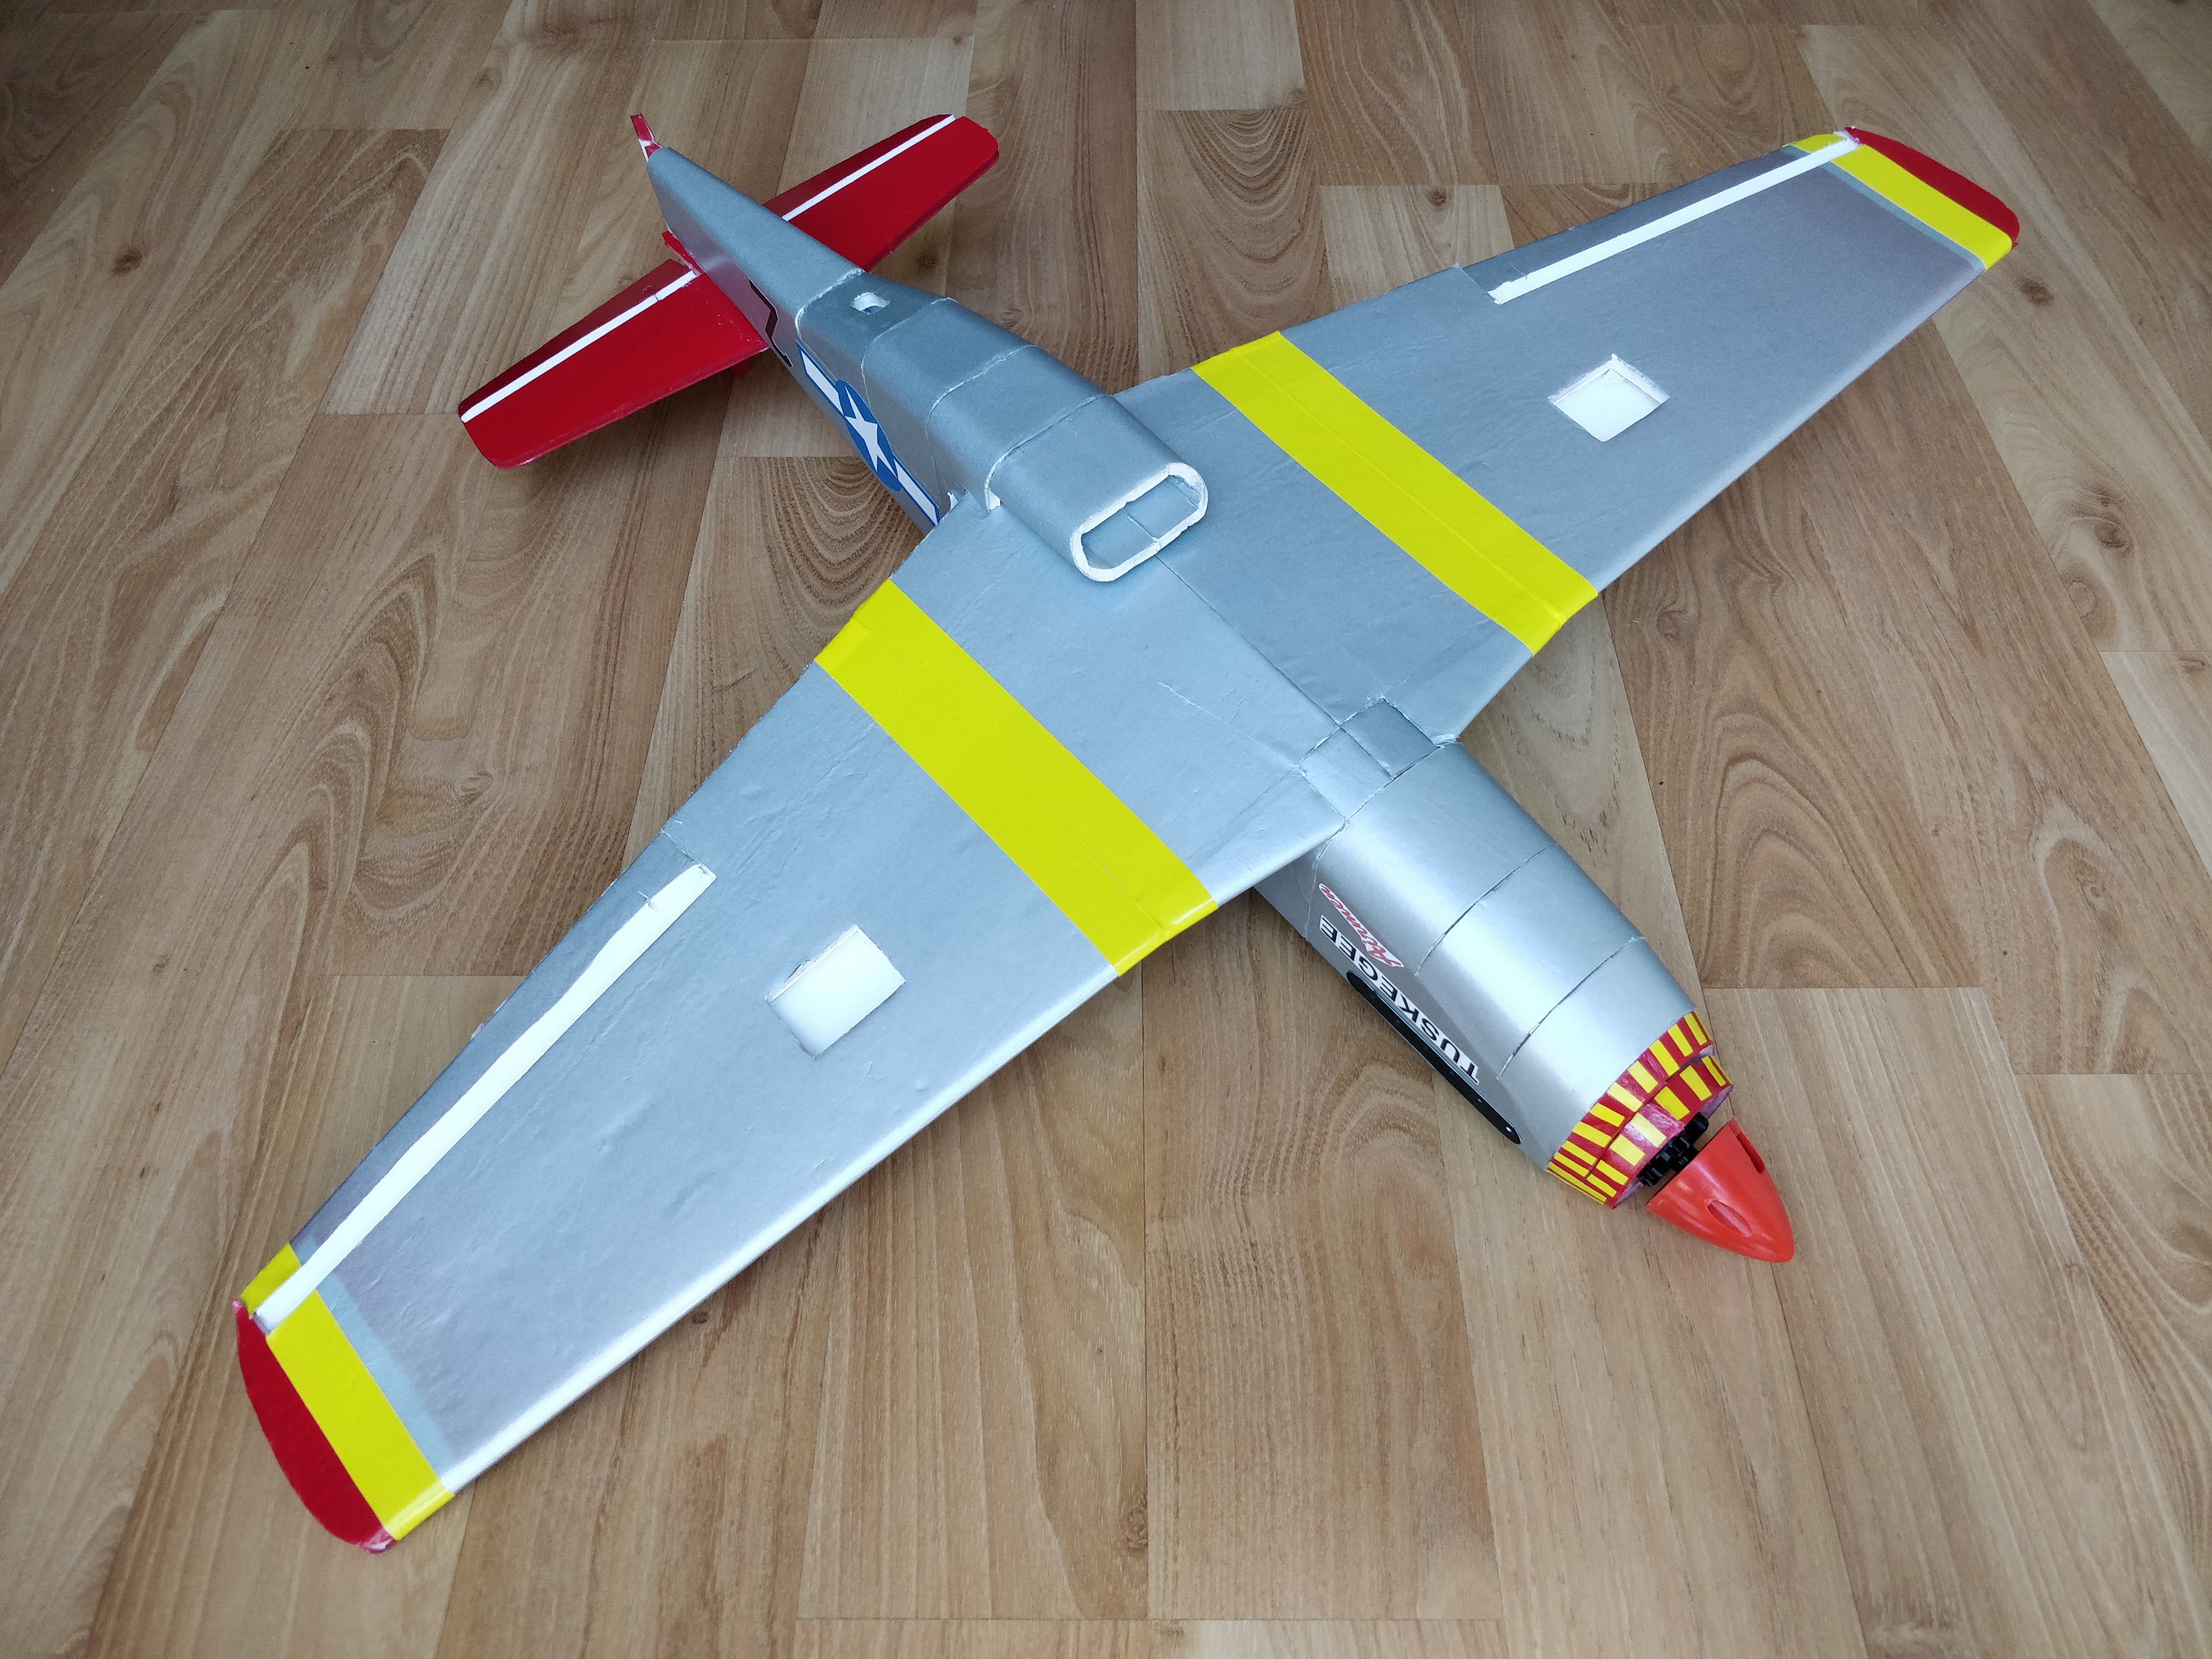 Parts for this prototype were graciously lasercut by Sam Platt
Thank you!
The only thing better than flying a model warbird – is flying many model warbirds in formation! I would strongly encourage you to check out other mini "swappables" designed by talented members of the FliteTest community such as Nic Lechner, Nathan Griffin and the 13th Squadron. To say that the amount of fun grows exponentially with the number of wingmen in the air is an understatement!
I truly hope that your experience with this design, from building to decorating to flying (to crashing to duct-taping to flying again), is fun-filled, educational and inspirational. As any FT community member would say, we love our community more than we do our planes, and we encourage you to share your experience with others, to inspire them to dream and create. Words are not enough to express my gratitude for the FliteTest family for the encouragement and support they provide for designers like myself to pursue this hobby in an economical and educational manner. Thank you for reading this article. Happy flying, and go make some memories!!!
Signing off once again - MiniacRC


Log In to reply
Log In to reply
And where may i purchase said items?
Thank you!
Log In to reply
The spinner I used the DU-BRO 1.5" plastic spinner. I think their 1.75" spinner would be more accurate for the scale of this design, but I haven't tried it so I can't whether the added weight might work the motor too hard and make it heat up! FliteTest has also released some foam spinners on their store, so that's worth a look.
Best of luck! :)
Log In to reply
Log In to reply